5 Ways to Add File Upload to React Apps

File upload is a critical feature for many React apps, enabling users to share images, documents, and more. This guide covers five practical ways to implement file uploads, balancing simplicity, control, and scalability. Here’s a quick summary:
-
HTML + Axios: Ideal for simple projects. Use
<input type="file">and Axios for basic uploads with minimal setup. - Simple File Upload: A managed solution that handles storage, image processing, and compliance. Great for production apps.
- Third-Party Libraries: Tools like React Dropzone offer drag-and-drop interfaces with customization options for advanced needs.
- Custom Fetch API: Provides full control over uploads, handling progress tracking, error management, and large files.
- AWS S3 Integration: Best for enterprise-scale apps, allowing secure, direct uploads to cloud storage with presigned URLs.
Each method suits different scenarios, from lightweight apps to large-scale systems. Below is a quick comparison to help you decide:
| Method | Complexity | Setup Time | Cost | Best For | File Size Limit |
|---|---|---|---|---|---|
| HTML + Axios | Medium | 2-4 hours | $0 + server costs | Simple uploads, prototypes | Server dependent |
| Simple File Upload | Low | 10 mins | $35-$250/month | Production apps | Plan dependent |
| Third-Party Libraries | Medium | 2-4 hours | $0-$50 | Custom UI, multiple files | Library dependent |
| Custom Fetch API | High | 1-2 days | $0 + development | Full control, unique needs | Custom implementation |
| AWS S3 Integration | Medium-High | 4-8 hours | $23+/TB/month | Enterprise, large files | Up to 5 TB |
Choose the method that fits your app’s complexity, user needs, and budget.
Upload Files in React - Typescript, Drag and Drop, & Form Examples
Method 1: Using HTML File Input and Axios

This method demonstrates how to use the HTML file input element alongside Axios to create a simple file upload feature in React.
Setting Up File Input in React
To implement file uploads in React, start by setting up an <input type="file"> element. Use the useState hook to manage the selected file and handle user interactions through the onChange event.
import React, { useState } from 'react';

const SingleFileUploader = () => {
  const [file, setFile] = useState<File | null>(null);

  const handleFileChange = (e: React.ChangeEvent<HTMLInputElement>) => {
    if (e.target.files) {
      setFile(e.target.files[0]);
    }
  };

  return (
    <>
      <div className="input-group">
        <input id="file" type="file" onChange={handleFileChange} />
      </div>
    </>
  );
};

export default SingleFileUploader;
Here’s how it works:
-
The
onChangeevent fires whenever a file is selected. -
The
e.target.filesproperty provides aFileListobject containing the selected files. To access the first file, usee.target.files[0].
You can customize the file input by adding attributes like multiple (for selecting multiple files) or accept (to limit file types). Unlike text inputs, file inputs in React are not controlled components. Due to browser security restrictions, you can only access the File object, not the actual file path. This means you’ll work with the files property rather than the value attribute.
Uploading Files with Axios
After capturing the file, Axios can handle the upload process. Use a FormData object to package the file and send it via a POST request.
import axios from 'axios';

const uploadFile = async (file) => {
  const formData = new FormData();
  formData.append('file', file);

  try {
    const response = await axios.post('/api/upload', formData, {
      headers: {
        'Content-Type': 'multipart/form-data',
      },
    });
    console.log('Upload successful:', response.data);
  } catch (error) {
    console.error('Upload failed:', error);
  }
};
Here’s what happens:
-
The
FormDataAPI prepares the file for upload usingmultipart/form-dataencoding, which is required by most servers. -
Axios automatically handles the necessary boundary parameters when you send the
FormData. - If needed, you can track the upload progress by adding a progress callback to the Axios configuration. This is particularly helpful for displaying progress bars or status updates during lengthy uploads.
Handling File Metadata
For better user experience and validation, you can extract and display file metadata, such as name, size, type, and last modified date. Here’s an example:
const handleFileChange = (e) => {
  if (e.target.files && e.target.files.length > 0) {
    const selectedFile = e.target.files[0];
    const fileSizeMB = (selectedFile.size / (1024 * 1024)).toFixed(2);
    const lastModified = new Date(selectedFile.lastModified).toLocaleDateString('en-US');

    setFileMetadata({
      name: selectedFile.name,
      size: `${fileSizeMB} MB`,
      type: selectedFile.type,
      lastModified: lastModified
    });
  }
};
In this example:
- File size is converted to megabytes (MB) for clarity.
-
The
lastModifieddate is formatted to the MM/DD/YYYY format, which is standard in the U.S.
This method provides a lightweight, straightforward solution for file uploads in React, making it a great choice for simple projects. It also lays the groundwork for more advanced techniques covered in later sections.
Method 2: Integrating Simple File Upload

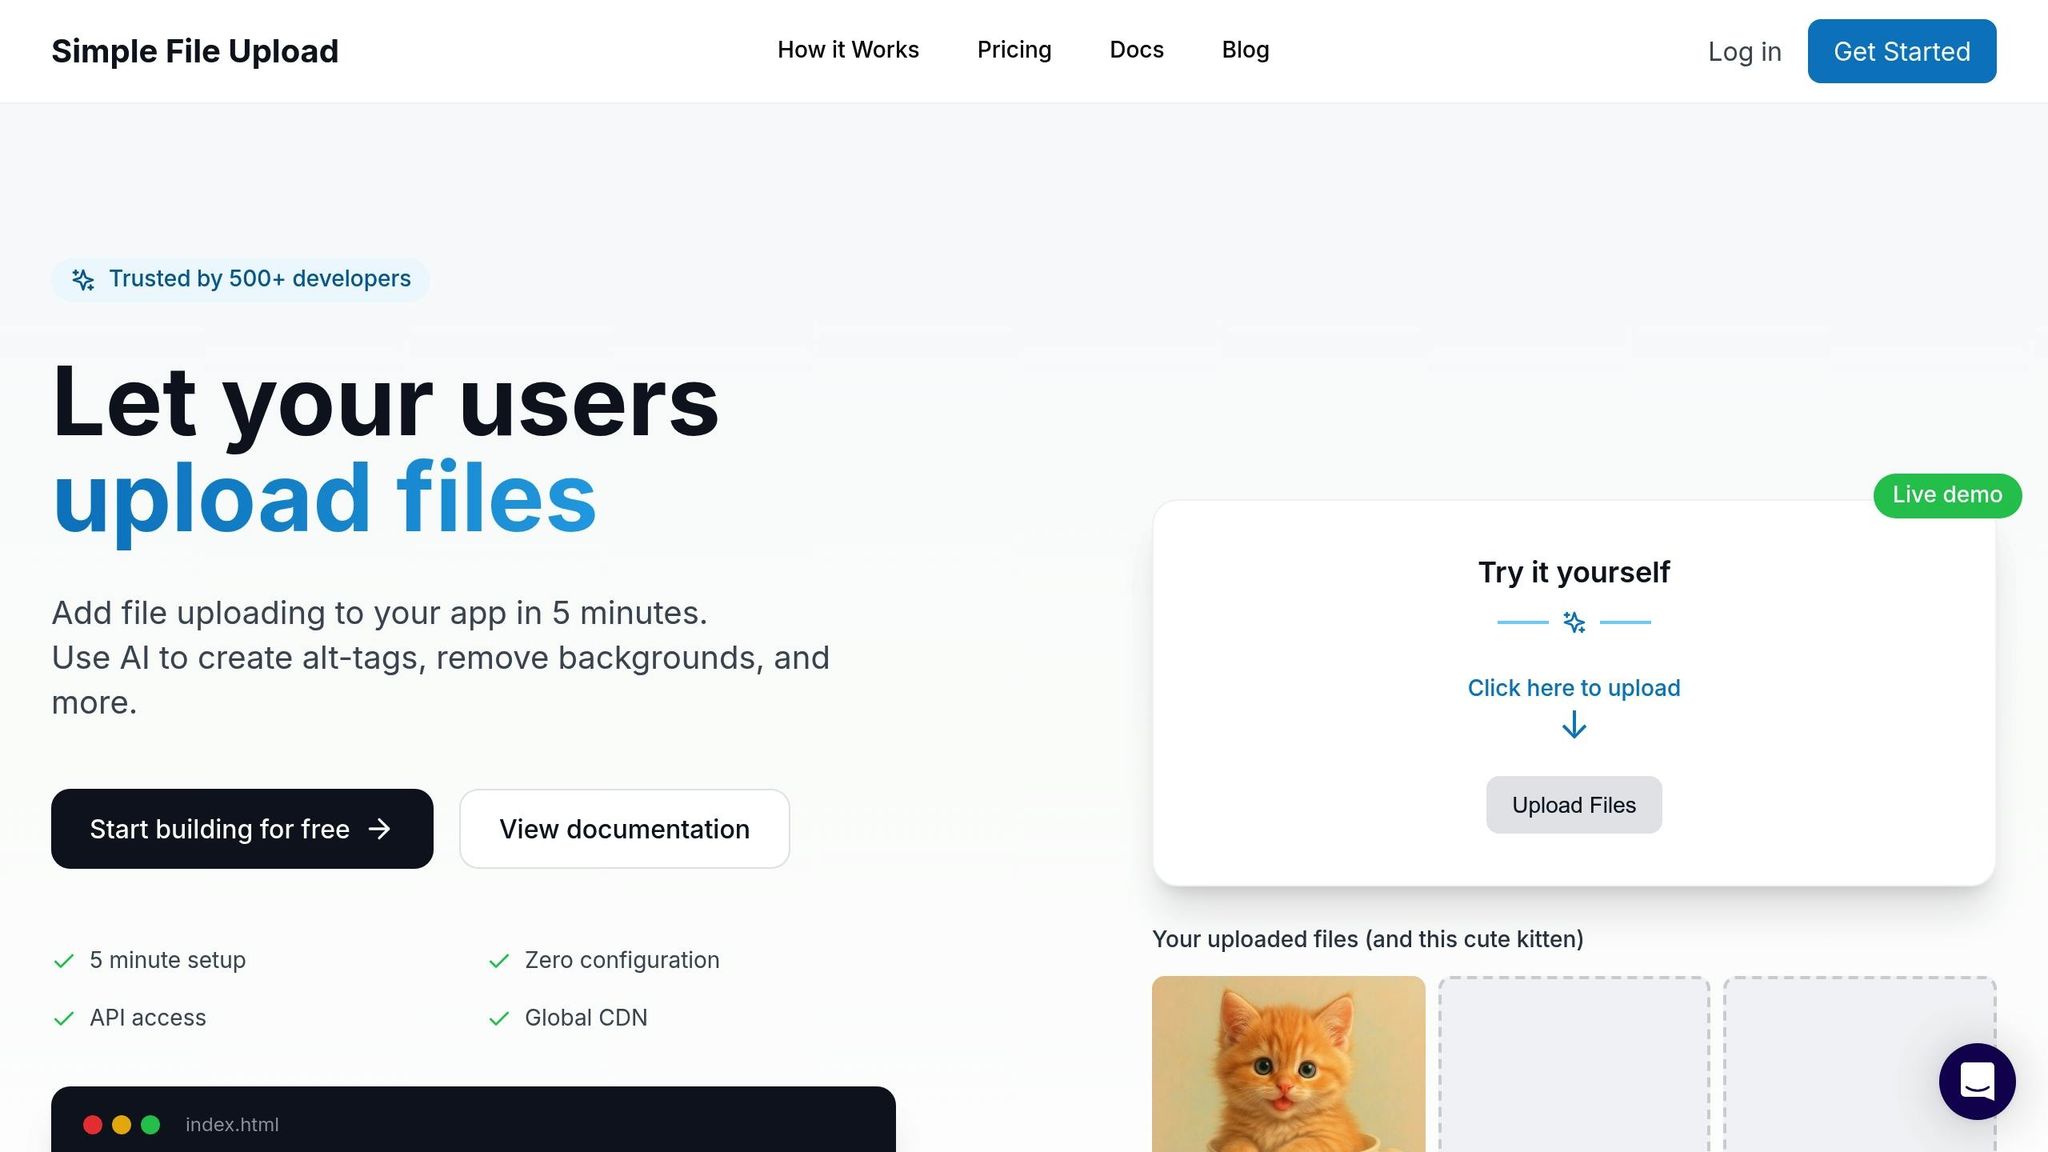
Simple File Upload makes handling file uploads easier by managing storage, image processing, and global delivery. It offers a reliable and efficient solution tailored specifically for React applications.
Key Features of Simple File Upload
One standout feature is its AI-powered alt-text generation, which automatically provides descriptive text for uploaded images. This helps developers in the U.S. meet ADA requirements and WCAG 2.1 Level AA standards. Additionally, it supports automatic image transformations like resizing, cropping, and optimization during uploads, eliminating the need for extra processing libraries in your React projects.
Files are delivered through a global CDN, ensuring fast load times both in the U.S. and internationally. It also supports direct file uploads, allowing users to send files straight to Simple File Upload's infrastructure. This bypasses your server, reducing bandwidth usage and improving performance. The platform accommodates files up to 50 MB on Pro and Custom plans and ensures file accessibility with redundancy across multiple storage providers.
Step-by-Step Integration
To get started, install the JavaScript SDK using npm:
npm install simple-file-upload-react
Next, configure the uploader component in your React app by importing the library and initializing it with your API key:
import { SimpleFileUpload } from 'simple-file-upload-react';

function MyComponent() {
  return (
    <SimpleFileUpload
      publicKey="YOUR_PUBLIC_KEY"
      onChange={(event) => console.log("Files changed:", event)}
    />
  )
}
This integration simplifies progress tracking, error handling, and file validation. You can also customize accepted file types and maximum file sizes through configuration options. Unlike the basic HTML and Axios method, Simple File Upload handles backend complexities for you, making it a great choice for scalable React applications.
U.S.-Specific Considerations
Simple File Upload is designed to meet ADA compliance through features like automatic alt-text generation, ensuring images align with WCAG 2.1 Level AA standards.
Pricing is in U.S. dollars, with plans starting at $35/month for Basic, $80/month for Pro, and $250/month for Custom enterprise solutions. These plans cover storage, bandwidth, and image transformations.
Method 3: Using Third-Party React Upload Libraries
Third-party libraries offer a middle ground between basic file inputs and fully managed solutions. They provide drag-and-drop interfaces while giving you more control over the upload process. This method balances ease of use with the ability to customize features.
Setting Up a Third-Party Library
One of the most popular libraries for file uploads in React is React Dropzone. It provides an easy-to-use drag-and-drop interface with plenty of configuration options. To get started, install the package using npm:
npm install react-dropzone
Then, import the useDropzone hook and create your file uploader component:
import { useDropzone } from 'react-dropzone';
import { useState } from 'react';

const FileUploader = () => {
  const [uploadedFiles, setUploadedFiles] = useState([]);

  const { getRootProps, getInputProps, isDragActive } = useDropzone({
    accept: {
      'image/*': ['.jpeg', '.jpg', '.png', '.gif'],
      'application/pdf': ['.pdf']
    },
    maxSize: 5242880, // 5MB in bytes
    onDrop: (acceptedFiles) => {
      setUploadedFiles(acceptedFiles);
    }
  });

  return (
    <div
      {...getRootProps()}
      style={{
        border: '2px dashed #ccc',
        padding: '20px',
        textAlign: 'center',
        cursor: 'pointer'
      }}
    >
      <input {...getInputProps()} />
      {isDragActive ? (
        <p>Drop the files here...</p>
      ) : (
        <p>Drag and drop files here, or click to select files</p>
      )}
    </div>
  );
};
This setup creates a drag-and-drop zone that adheres to HTML5 standards, making file selection seamless and user-friendly.
File Validation and User Experience
React Dropzone makes it simple to validate files and provide immediate feedback. For example, you can enforce restrictions on file size and type before processing uploads:
const { getRootProps, getInputProps, fileRejections } = useDropzone({
  accept: {
    'image/*': ['.jpeg', '.jpg', '.png'],
    'application/pdf': ['.pdf']
  },
  maxSize: 10485760, // 10MB
  onDrop: (acceptedFiles, rejectedFiles) => {
    // Handle accepted files
    setUploadedFiles(acceptedFiles);

    // Log validation errors
    if (rejectedFiles.length > 0) {
      console.log('Rejected files:', rejectedFiles);
    }
  }
});

// Display file previews
const filePreview = uploadedFiles.map(file => (
  <div key={file.name}>
    <img
      src={URL.createObjectURL(file)}
      alt={file.name}
      style={{ width: '100px', height: '100px', objectFit: 'cover' }}
    />
    <p>{file.name} ({(file.size / 1024 / 1024).toFixed(2)} MB)</p>
  </div>
));
The fileRejections array can be used to inform users why certain files were rejected. To ensure accessibility, include ARIA attributes and clear error messages for screen reader users.
Best Use Cases for Third-Party Libraries
Third-party libraries like React Dropzone are ideal when you need advanced customization without building an uploader from scratch. They work well for applications requiring features such as multiple file uploads, file previews, and custom validation.
Here are some scenarios where third-party libraries shine:
- Multiple file uploads with previews: Perfect for e-commerce platforms, portfolio websites, or content management systems where users need to see their selected files before uploading.
- Custom styling and branding: Allows you to design the uploader to match your application's look and feel without sacrificing functionality.
- Advanced validation rules: Easily implement checks for file types, dimensions, or other specific requirements.
- Accessibility and progressive enhancement: Supports drag-and-drop interfaces while remaining functional for users with older browsers or assistive technologies.
Although setting up a third-party library takes more effort than using fully managed solutions, the extra flexibility and control make it a great choice for projects that need tailored file upload experiences.
Method 4: Custom File Upload with Fetch API

Using the Fetch API for file uploads gives you complete control over how the process is handled. It offers a modern, promise-based approach that integrates seamlessly with React's component lifecycle and state management. This method is particularly useful when you need functionality that standard libraries don't provide.
Creating a Custom Upload Component
To start, you can build a simple file upload component that evolves into a more robust solution. Here's an example of a custom component for uploading a single file:
import { useState } from 'react';

const CustomFileUploader = () => {
  const [file, setFile] = useState(null);
  const [uploadStatus, setUploadStatus] = useState('initial'); // initial, uploading, success, fail

  const handleFileChange = (event) => {
    const selectedFile = event.target.files[0];
    setFile(selectedFile);
    setUploadStatus('initial');
  };

  const handleUpload = async () => {
    if (!file) return;

    setUploadStatus('uploading');

    try {
      const formData = new FormData();
      formData.append('file', file);

      const response = await fetch('https://your-server.com/upload', {
        method: 'POST',
        body: formData,
      });

      if (response.ok) {
        setUploadStatus('success');
      } else {
        throw new Error(`Upload failed with status: ${response.status}`);
      }
    } catch (error) {
      console.error('Upload error:', error);
      setUploadStatus('fail');
    }
  };

  return (
    <div>
      <input type="file" onChange={handleFileChange} />

      {file && (
        <div>
          <p>
            Selected: {file.name} (
            {(file.size / 1024 / 1024).toFixed(2)} MB)
          </p>
          <button onClick={handleUpload} disabled={uploadStatus === 'uploading'}>
            {uploadStatus === 'uploading' ? 'Uploading...' : 'Upload File'}
          </button>
        </div>
      )}

      {uploadStatus === 'success' && (
        <p style={{ color: 'green' }}>Upload successful!</p>
      )}
      {uploadStatus === 'fail' && (
        <p style={{ color: 'red' }}>Upload failed. Please try again.</p>
      )}
    </div>
  );
};

export default CustomFileUploader;
For multiple file uploads, you can extend this by handling an array of files. Here's how you might modify the component:
const handleMultipleFiles = (event) => {
  const selectedFiles = [...event.target.files];
  const formData = new FormData();

  selectedFiles.forEach((file) => {
    formData.append('files', file);
  });

  // Send formData with fetch
};
This ensures the browser automatically sets the correct Content-Type with the necessary form boundary.
Adding Error Handling and Progress Indicators
Once the basic upload functionality is in place, the next step is to handle errors and track upload progress. For error handling, you can address issues like network failures, CORS restrictions, and server-side errors:
const handleUploadWithErrorHandling = async () => {
  if (!file) return;

  setUploadStatus('uploading');

  try {
    const formData = new FormData();
    formData.append('file', file);

    const response = await fetch('https://your-server.com/upload', {
      method: 'POST',
      body: formData,
    });

    if (!response.ok) {
      if (response.status === 413) {
        throw new Error('File too large. Please select a smaller file.');
      } else if (response.status === 415) {
        throw new Error('File type not supported.');
      } else if (response.status >= 500) {
        throw new Error('Server error. Please try again later.');
      } else {
        throw new Error(`Upload failed: ${response.status}`);
      }
    }

    const result = await response.json();
    setUploadStatus('success');
  } catch (error) {
    console.error('Upload error details:', error.message);
    setUploadStatus('fail');
  }
};
Since the Fetch API doesn't natively support tracking upload progress, you can use XMLHttpRequest for this purpose:
const uploadWithProgress = (file, onProgress) => {
  return new Promise((resolve, reject) => {
    const xhr = new XMLHttpRequest();
    const formData = new FormData();
    formData.append('file', file);

    xhr.upload.addEventListener('progress', (event) => {
      if (event.lengthComputable) {
        const percentComplete = (event.loaded / event.total) * 100;
        onProgress(Math.round(percentComplete));
      }
    });

    xhr.addEventListener('load', () => {
      if (xhr.status === 200) {
        resolve(xhr.response);
      } else {
        reject(new Error(`Upload failed: ${xhr.status}`));
      }
    });

    xhr.addEventListener('error', () => reject(new Error('Network error')));

    xhr.open('POST', 'https://your-server.com/upload');
    xhr.send(formData);
  });
};
Managing Large File Uploads
Uploading large files comes with its own set of challenges. Techniques like chunking, where a file is split into smaller pieces, can make the process more efficient and resilient:
const uploadLargeFile = async (file, chunkSize = 1024 * 1024) => { // 1MB chunks
  const totalChunks = Math.ceil(file.size / chunkSize);

  for (let chunkIndex = 0; chunkIndex < totalChunks; chunkIndex++) {
    const start = chunkIndex * chunkSize;
    const end = Math.min(start + chunkSize, file.size);
    const chunk = file.slice(start, end);

    const formData = new FormData();
    formData.append('chunk', chunk);
    formData.append('chunkIndex', chunkIndex);
    formData.append('totalChunks', totalChunks);
    formData.append('fileName', file.name);

    try {
      const response = await fetch('https://your-server.com/upload-chunk', {
        method: 'POST',
        body: formData,
      });

      if (!response.ok) {
        throw new Error(`Chunk ${chunkIndex} failed to upload`);
      }

      // Update progress using a state setter
      const progress = ((chunkIndex + 1) / totalChunks) * 100;

    } catch (error) {
      console.error(`Error uploading chunk ${chunkIndex}:`, error);
      // Add retry logic for failed chunks
      break;
    }
  }
};
For very large files, resumable uploads are a great option. They allow users to pause and resume uploads, ensuring reliability even if the connection is interrupted. Combining chunking with resumable uploads can make the process smoother and more robust.
Method 5: Cloud Storage Integration with AWS S3

Amazon S3 provides a scalable, reliable solution for file storage. By integrating S3 with your React app, you can allow users to upload files directly to S3 without routing data through your server, improving performance and security.
One effective way to achieve this is by using presigned URLs. These URLs, generated by your backend, grant temporary, limited access to S3 for file uploads. This approach ensures secure uploads without exposing your AWS credentials.
Setting Up AWS S3 Presigned URLs
To set up presigned URLs, follow these steps:
-
Create an S3 Bucket and Configure CORS
Update the CORS settings for your S3 bucket to allow your React app to interact with it:
[ { "AllowedHeaders": ["*"], "AllowedMethods": ["PUT", "POST"], "AllowedOrigins": ["https://your-react-app.com"], "ExposeHeaders": ["ETag"] } ] -
Set Up IAM Permissions
Create an IAM user with the
s3:PutObjectpermission to allow file uploads. -
Generate Presigned URLs in Your Backend
Use a backend service (e.g., AWS Lambda, Express.js) to generate presigned URLs. Here's an example using Node.js:
const AWS = require('aws-sdk'); const s3 = new AWS.S3(); const generatePresignedUrl = async (fileName, fileType) => { const params = { Bucket: 'your-bucket-name', Key: fileName, ContentType: fileType, Expires: 300, // URL valid for 5 minutes }; return s3.getSignedUrlPromise('putObject', params); }; -
Use the Presigned URL in Your React App
Your React app can request the presigned URL from your backend and use it to upload files directly to S3:
const uploadToS3 = async (file) => {
  try {
    // Request the presigned URL from the backend
    const response = await fetch('/api/get-presigned-url', {
      method: 'POST',
      headers: { 'Content-Type': 'application/json' },
      body: JSON.stringify({
        fileName: file.name,
        fileType: file.type,
      }),
    });

    const { presignedUrl } = await response.json();

    // Upload the file directly to S3
    const uploadResponse = await fetch(presignedUrl, {
      method: 'PUT',
      body: file,
      headers: { 'Content-Type': file.type },
    });

    if (uploadResponse.ok) {
      console.log('File uploaded successfully to S3');
    }
  } catch (error) {
    console.error('S3 upload failed:', error);
  }
};
With this setup, your app can securely handle file uploads while maintaining a streamlined integration with S3.
Security and Scalability Best Practices
To ensure your S3 integration is secure and efficient, keep these tips in mind:
- Block Public Access: Enable S3 Block Public Access to prevent unintentional exposure of files.
-
Restrict Content Types and Sizes: Use POST policies to enforce file type and size limits. For example:
const generatePresignedPost = (fileName, fileType) => { const params = { Bucket: 'your-bucket-name', Fields: { key: fileName }, Conditions: [ ['content-length-range', 0, 10485760], // Max 10 MB ['starts-with', '$Content-Type', 'image/'], // Images only ], Expires: 300, }; return s3.createPresignedPost(params); }; - Control Upload Requests: Implement rate limiting to prevent abuse and manage storage costs effectively.
- Asynchronous Processing: Use S3 Event Notifications with SQS to handle tasks like virus scanning or file processing without delaying uploads.
-
Secure Data Transfers: Enforce HTTPS by setting bucket policies with
aws:SecureTransportto protect data during transmission.
Benefits of Cloud Storage for U.S. Applications
AWS S3 offers several advantages that are particularly appealing for U.S.-based applications:
- Cost-Effective Storage: S3 provides scalable storage starting at approximately $0.023 per GB per month in U.S. regions, making it budget-friendly for growing applications.
- High Reliability: With data stored across multiple availability zones, S3 ensures durability (up to 99.999999999% over a year) and consistent access.
- Seamless AWS Ecosystem: S3 integrates effortlessly with other AWS services like Lambda for automated workflows (e.g., image resizing) and CloudFront for global content delivery.
- Compliance and Data Security: Features like versioning, S3 Object Lock for write-once-read-many storage, and server-side encryption with AWS KMS keys help meet regulatory requirements and protect sensitive data.
Comparison of Methods: Which One Is Right for You?
Choosing the right method for file uploads depends on factors like complexity, cost, and performance. Each approach has its own strengths and limitations, so understanding these can help you make an informed decision.
The HTML + Axios method is ideal for straightforward applications with basic upload needs. It’s easy to set up and gives you full control over the implementation. However, it doesn’t include advanced features like progress tracking or resumable uploads.
For a balance between simplicity and advanced functionality, Simple File Upload is a strong option. It simplifies infrastructure management while offering features like AI-powered alt-text generation and global CDN delivery. It’s also designed to meet U.S. compliance and performance standards.
If your project requires specific UI components or enhanced user experiences, third-party React libraries like Uppy or Dropzone.js are worth considering. These libraries often include drag-and-drop interfaces and plugin-based architectures, making them versatile for specialized needs.
The custom Fetch API method is best suited for developers who need complete control over functionalities like error handling and progress tracking. While it offers maximum flexibility, it demands more development time and ongoing maintenance.
For large-scale projects or enterprise needs, AWS S3 stands out. With support for files up to 5 TB (when chunked), it provides exceptional scalability and reliability, making it a go-to choice for handling large files.
Conclusion: Best Practices for File Uploads in React
Building a robust file upload system in React goes beyond just getting the job done - it’s about balancing functionality, security, accessibility, and performance. The methods we've explored provide a solid starting point, but applying a few key principles can elevate your implementation to meet both technical needs and user expectations.
File validation is a must. Always check file types, sizes, and content on both the client and server sides. Tools like FormData paired with proper headers make this process seamless. This two-step validation not only protects against harmful uploads but also gives users immediate feedback about any issues.
Don’t overlook performance. As your app grows, managing performance becomes increasingly important. Using React's state management to monitor uploads can help keep things efficient. Pairing the Fetch API with FormData ensures files are sent correctly and efficiently, making it a reliable choice for custom implementations.
When deciding on a file upload solution, consider factors like ease of use, real-time progress updates, support for multiple files, and how well it integrates with your backend. Start with a straightforward approach, test it with actual users, and expand its capabilities as your needs evolve.
Ultimately, a successful file upload process boils down to validation, clear communication, user feedback, and effective error handling. By focusing on these core elements, you can create a seamless experience while maintaining data security and integrity. Choose an approach that aligns with your project’s requirements, and be ready to adapt as your app scales.
FAQs
What should I consider when choosing a file upload method for my React app?
When choosing a file upload method for your React app, you’ll want to think about a few key factors, like file size limits and type restrictions, to protect both security and performance. Another decision you’ll face is whether to create a custom solution or rely on a third-party library - this often comes down to how easily the option fits with your app and how well it can handle future scaling.
If your app needs to handle larger files, consider techniques like multipart uploads or splitting files into smaller chunks. These approaches can improve both performance and the overall user experience. Also, make sure the upload method aligns with your current infrastructure and emphasizes secure file handling. This means implementing proper validation and sanitization to keep things running smoothly and safely. By taking these steps, you can build a dependable and user-friendly file upload system.
How does using AWS S3 with presigned URLs make file uploads in React apps more secure and scalable?
Using AWS S3 with presigned URLs adds an extra layer of security by granting temporary, specific permissions for accessing files. This means only users with the correct authorization can upload or download files, reducing the chances of unauthorized access.
It also streamlines scalability by enabling direct file uploads from the client to S3, skipping the server entirely. This approach lightens the server's workload, prevents potential bottlenecks, and makes handling large file uploads or heavy traffic much smoother - an advantage particularly beneficial for React applications dealing with substantial data transfers.
What are the advantages of using libraries like React Dropzone for file uploads instead of creating a custom solution with the Fetch API?
Using libraries like React Dropzone can make file upload tasks much easier compared to building a custom solution with the Fetch API. These libraries come packed with features like drag-and-drop functionality, file validation, previews, and support for uploading multiple files - all ready to use. If you were to create these features from scratch using the Fetch API, it would take a lot more time and effort.
On top of that, tools like React Dropzone are built to improve the user experience. They offer smoother interactions and better accessibility, which can be tricky to achieve on your own. Since these libraries are well-tested and regularly updated, they also help reduce the chances of bugs or compatibility problems. This means you can focus less on troubleshooting and more on building your app. Using such tools can save development time and deliver a seamless file upload experience for your React application.
Related Blog Posts
Ready to simplify uploads?
Join thousands of developers who trust Simple File Upload for seamless integration.