Best Practices for Using Prebuilt Uploaders

Prebuilt uploaders save developers time by handling file uploads securely and efficiently. They simplify complex tasks like managing AWS IAM, resolving CORS issues, and designing user-friendly interfaces. These tools also address critical security risks, improve performance through global CDNs, and offer features like drag-and-drop functionality, virus scanning, and real-time image transformations. Here's what you need to know:
- Security Measures: Validate file types and sizes, scan for malware, and rename files to prevent attacks.
- Performance Optimization: Use direct-to-CDN uploads, enable image compression, and support resumable uploads for large files.
- User Experience: Provide progress indicators, drag-and-drop options, and real-time validation to enhance usability.
- Developer Tips: Use prebuilt widgets for faster integration, customize for your framework, and ensure both client- and server-side validation.
Tools like Simple File Upload make integration quick and efficient, allowing you to focus on your app's core features while ensuring secure and reliable file handling.
I Found a BETTER Way to Do File Uploads
Security Best Practices for Prebuilt Uploaders
File uploads can act as direct entry points to your application, making them an attractive target for attackers. Since image uploaders are often exploited, it's crucial to focus on security and implement measures to safeguard your system.
Whitelist Allowed File Types
Relying on user-provided file types is risky. Instead, create an allowlist of safe file extensions, such as JPEG, PNG, WebP, and GIF for images, or PDF and DOCX for documents. Validate each file's extension, MIME type, and magic bytes to ensure compliance. As OWASP advises: "List allowed extensions. Only allow safe and critical extensions for business functionality".
Blacklists are unreliable since attackers can bypass them using uncommon extensions like .php5, .phtml, or .asa. To further secure image uploads, reprocess files with image libraries to strip malicious metadata or embedded scripts. For documents like PDFs, use Content Disarm & Reconstruct (CDR) techniques to remove active content, such as macros or JavaScript, before saving.
Another key rule: never trust user-provided filenames. As Rob Shapland from Computer Weekly notes, "The application should not use the file name supplied by the user. Instead, the uploaded file should be renamed according to a predetermined convention". Generate random filenames, such as UUIDs, to prevent directory traversal attacks and ensure uploaded scripts cannot execute.
After controlling file types, enforce strict file size limits to further protect your system.
Limit File Sizes
Setting file size limits helps prevent storage depletion and resource exhaustion, which could lead to denial-of-service (DoS) attacks. George Prichici, VP of Products at OPSWAT, highlights this risk: "If an extremely large file is uploaded, this could result in high consumption of the servers' resources and disrupt the service for your users".
Apply size restrictions at multiple levels: your web server (e.g., Nginx or Apache), your application environment (like PHP's upload_max_filesize), and within your application code. For standard image uploads, a 5MB limit works well, as most smartphone photos range between 2MB and 3.5MB.
Be cautious with compressed files. A "Zip bomb", for example, can compress a 1MB file into a tiny size that expands to 1GB upon decompression, potentially crashing your server. Always check file size after decompression. Clearly display maximum allowed sizes to users to avoid confusion and failed uploads.
These size limits, combined with file type validation, lay the groundwork for advanced threat detection.
Scan Files for Malware
Even files that pass basic checks can harbor hidden dangers, such as embedded PHP code. To mitigate this, integrate automated malware scanning into your upload process.
Use antivirus tools or APIs to scan every file before storing it permanently. Options like ClamAV or VirusTotal, which checks files against multiple antivirus engines, offer robust detection. For higher-risk file types, consider sandboxing - executing files in an isolated environment to monitor their behavior before allowing them into your system.
As the OWASP File Upload Cheat Sheet emphasizes: "There is no silver bullet in validating user content. Implementing a defense in depth approach is key to make the upload process harder and more locked down to the needs and requirements for the service". Always store uploaded files in a directory outside your webroot and rename them with random strings to prevent attackers from guessing file paths or executing malicious code.
To test your malware scanning setup, use the EICAR test file, a safe, standardized file designed to confirm that your anti-malware system flags and blocks threats correctly. If a suspicious file is detected, quarantine it automatically and notify the user to maintain transparency without disrupting workflows.
Performance Optimization for File Uploads
While securing your file uploads is critical, ensuring they perform efficiently is just as important. A fast and reliable upload process improves user satisfaction and lightens the load on your servers. Techniques like direct CDN uploads, image optimizations, and resumable transfers can make a big difference. Let’s dive into how you can speed things up.
Enable Direct Uploads to a CDN
Routing uploads through your server can create bottlenecks, eating up bandwidth and CPU resources. Instead, direct uploads send files straight to cloud storage, bypassing your backend entirely.
A great way to achieve this is by using signed URLs - temporary, pre-authorized links that allow uploads without exposing your API keys. As AWS explains:
By directly uploading these files to Amazon S3, you can avoid proxying these requests through your application server. This can significantly reduce network traffic and server CPU usage.
Before generating these URLs, validate the file type and size on your server to block unauthorized content.
To boost transfer speeds, take advantage of edge locations and multipart uploads. For instance, Amazon S3 Transfer Acceleration uses globally distributed edge servers to speed up transfers by 50% to 500% for large files. For files over 500 MB, multipart uploads break them into chunks, improving reliability and allowing individual parts to be retried if needed.
For added security, set short expiration times for signed URLs (typically 5 to 15 minutes). Include retry logic with exponential backoff to handle temporary errors like "503 Slow Down" responses.
Use Image Transformations and Optimizations
Once files are uploaded, optimizing them ensures faster delivery. Images alone make up more than 50% of the data on a typical web page. Uploading oversized or unoptimized images wastes bandwidth and delays load times.
Using smart lossy compression can shrink file sizes by up to 80% by reducing color counts and removing unnecessary metadata, all while maintaining near-identical quality. Converting formats like JPEG or PNG to newer ones like WebP or AVIF can further reduce file sizes without losing quality. WebP is a great choice, as it’s supported by major browsers like Chrome, Firefox, and Edge.
On-the-fly image transformations - such as resizing, cropping, or rotating - can match image dimensions to their display size, cutting down on unnecessary data. Automate this process with APIs or plugins to save time and ensure consistency.
To speed up page rendering, always include width and height attributes in your image tags. This prevents browsers from recalculating layouts. Even reducing JPEG quality from 95% to 75% can significantly lower file sizes with minimal visual impact.
Support Resumable Uploads
Network interruptions are inevitable, especially for mobile users or large file uploads. Resumable uploads let users pick up where they left off instead of starting over, saving time and frustration.
Google Cloud Storage highlights the benefits:
Resumable uploads are the recommended method for uploading large files, because you don't have to restart them from the beginning if there is a network failure while the upload is underway.
To implement this, start by creating a session URI and uploading files in chunks (at least 256 KiB). If the upload is interrupted, you can retrieve the offset and resume from there.
Make sure to handle errors like 5xx responses or timeouts by implementing status checks. Use checksums (MD5 or SHA-256) at the end of the upload to confirm the file matches the original. Adjust chunk sizes based on your needs - while 256 KiB is the minimum, larger chunks (like 8 MiB or 15 MiB) can improve speeds, though they require more memory. Session URIs usually expire after a week, so be sure to cancel incomplete uploads with a DELETE request to avoid clutter.
For example, users on an 8 Mbps connection might find resumable uploads essential for files over 30 MB, while those on a 500 Mbps connection could manage single-request uploads up to 2 GB before resumable uploads become advantageous.
User Experience Best Practices for Prebuilt Uploaders
Once you've optimized for performance, it's time to focus on making your uploader intuitive and user-friendly. A seamless user experience not only keeps people engaged but also helps reduce errors. As Uploadcare aptly notes:
A well-designed file uploader can make the process smooth and easy to understand, leading to increased user engagement.
The goal is to combine features that offer clear feedback, flexible input options, and helpful validation. These elements enhance usability while complementing the security and performance measures you've already implemented.
Provide Real-Time Progress Indicators
Clear and immediate feedback during uploads is essential. Users can quickly grow frustrated if they’re left wondering whether their file is uploading or if the system has frozen. Progress bars are the perfect solution, as they show upload activity and provide an estimated time until completion.
For smaller files that upload in just a few seconds, a simple loading spinner works fine. However, for larger files - especially those over 20 MB - detailed feedback becomes critical. Include a percentage indicator and an estimated time remaining so users know what to expect. If users are uploading multiple files, individual progress bars for each file are better than a single combined bar, as they offer more transparency.
Don’t forget accessibility. Screen reader users should receive the same updates via aria-live="polite", ensuring status changes are announced without disrupting their current task.
Offer Drag-and-Drop Functionality
Drag-and-drop functionality has become a standard feature in modern web applications. It allows users to quickly and easily upload files by dragging them from their device and dropping them directly into the uploader, saving time compared to navigating through traditional HTML file upload dialog boxes.
Having a drag-and-drop functionality in your file uploader helps to simplify the uploading process, it makes it faster for your users to easily drop files into the file uploader and they will be uploaded.
To enhance this feature, provide clear visual cues when users hover over the drop zone. For example, you could change the background color, update the cursor, or display a "drop here" message. However, always include a fallback option, such as a "Browse" button, for users who prefer or require traditional input methods. Additionally, ensure accessibility by supporting the "Enter" key to open the file explorer.
Display File Previews and Error Messages
Visual feedback is key to preventing errors. Thumbnails, for instance, allow users to confirm they've selected the right files before proceeding, which is especially useful for image-heavy applications. For accessibility, include alt text for these previews so screen reader users can also understand what’s being uploaded.
When errors do occur, clarity is everything. Instead of a generic "Upload Failed" message, let users know exactly what went wrong - for example, "File exceeds 2 MB limit" or "Only JPG, PNG, and GIF formats are allowed." This specificity helps users quickly identify and correct mistakes.
To further minimize errors, validate files in real time as they’re selected. Check the file type and size before the upload begins. And to make the interface more intuitive, use familiar icons - a trash can for deletion or a cloud with an upward arrow for uploading - so actions are immediately recognizable without additional explanation.
Integration Best Practices for Developers
Once you've tackled security, performance, and user experience, it's time to focus on integration best practices. A solid integration strategy not only saves development time but also ensures your application runs smoothly and securely. Uploader widgets are versatile and work across frameworks, but following these practices will help you get the most out of them.
Use Prebuilt Uploader Widgets
Prebuilt uploader widgets are a game-changer. They eliminate the hassle of building complex upload functionality from scratch. These widgets often come with features like drag-and-drop, progress tracking, and CDN integration, all while requiring minimal code. For instance, uploader widgets built with web components can be up to 57% lighter than older jQuery-based versions, leading to faster page loads without compromising functionality.
To get started, include the uploader via a CDN script tag or an npm package, then add the HTML element to your project. You can customize its behavior directly through HTML attributes, such as setting maximum file sizes, restricting file types, or enabling multiple uploads - all without needing extra JavaScript. With the uploader handling the heavy lifting, you can shift your focus to building out your app's core features. This approach also leaves room for deeper framework-specific customizations.
Customize for Framework Compatibility
Although web components work with any tech stack, taking advantage of framework-specific techniques can improve state management and reactivity. For example, in React, you can use refs to link the uploader element to your component's state. In Vue, native binding can connect the uploader to your data model seamlessly.
If the default uploader design doesn’t match your UI, you can use a headless mode to hide the built-in button and trigger uploads with your custom components. For TypeScript projects, make sure to update your tsconfig.json with the appropriate type definitions to enable JSX support and perform static analysis during development. When working with multiple uploaders on a single page, assign each one a unique context name attribute to keep their configurations separate. Once you've tailored the uploader to your framework, always reinforce your setup with strong client- and server-side validation.
Validate Client-Side and Server-Side
Client-side validation is helpful but not enough. While it provides instant feedback to users by checking file types and sizes in the browser, these checks can be bypassed if JavaScript is disabled or manipulated through a web proxy.
"Input validation must be implemented on the server-side before any data is processed by an application's functions, as any JavaScript-based input validation performed on the client-side can be circumvented by an attacker who disables JavaScript or uses a web proxy."
– OWASP
On the server side, implement thorough validation using an allowlist approach, as outlined in the Security Best Practices section. Rename uploaded files to random strings, like UUIDs, to prevent directory traversal attacks and filename conflicts. Store files outside the webroot or on a separate host, ensuring the upload directory is configured to block script execution.
For applications that handle sensitive data, consider using backend adapters to generate presigned URLs. This ensures that only authenticated users can upload files, which are sent directly to cloud storage. Not only does this enhance security, but it also reduces server load and bandwidth costs.
Simple File Upload Features and Recommendations
Simple File Upload Pricing Plans Comparison
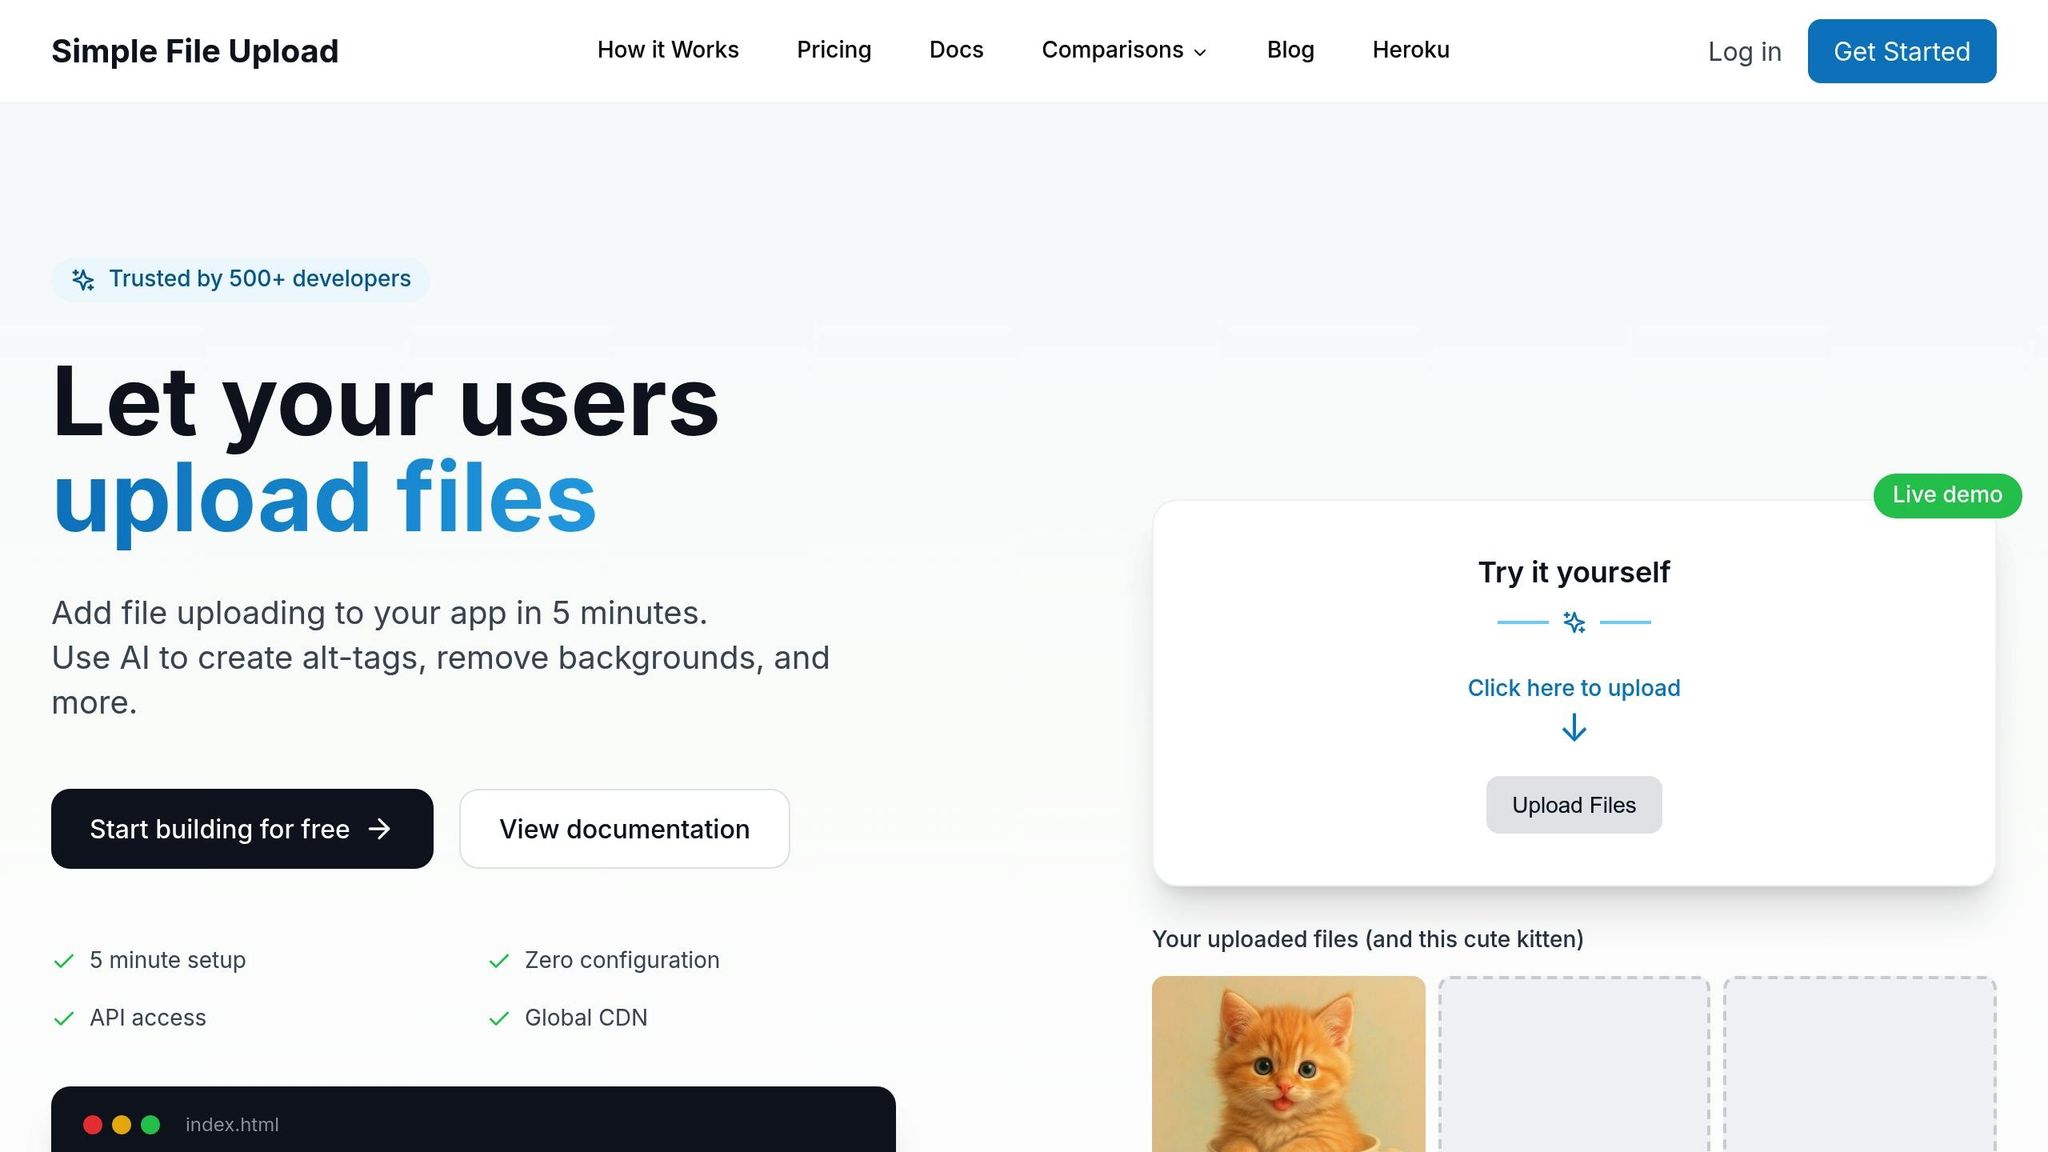
Simple File Upload is designed to meet high standards of security, performance, and user experience. It provides a reliable solution with features like secure file type allowlisting, file size restrictions, and upload volume controls. Using the Limit File Types configuration, it ensures only approved file types are uploaded. Additionally, the max-file-size attribute (measured in bytes) sets file size limits, and the max-files attribute restricts the number of uploads to prevent misuse.
To enhance security, all files are served through a global CDN with over 200 edge locations. This approach isolates user-generated content from your app infrastructure, reducing risks. The platform also offers on-demand image transformations, such as resizing with parameters like ?w=200&h=200, which helps neutralize potentially harmful content. Features like Background Removal and Alt-Text Generation not only simplify workflows but also improve accessibility. These elements ensure smooth performance and easy integration across various frameworks.
The uploader is framework-agnostic, meaning it works seamlessly with React, Vue, Angular, Svelte, and others. It supports both single-file uploads (e.g., profile pictures) and multi-file uploads (e.g., galleries). With direct-to-cloud uploads, files bypass your server entirely, resulting in faster upload speeds. Trusted by over 500 developers, the service can be integrated in under five minutes.
Plan Comparison Table
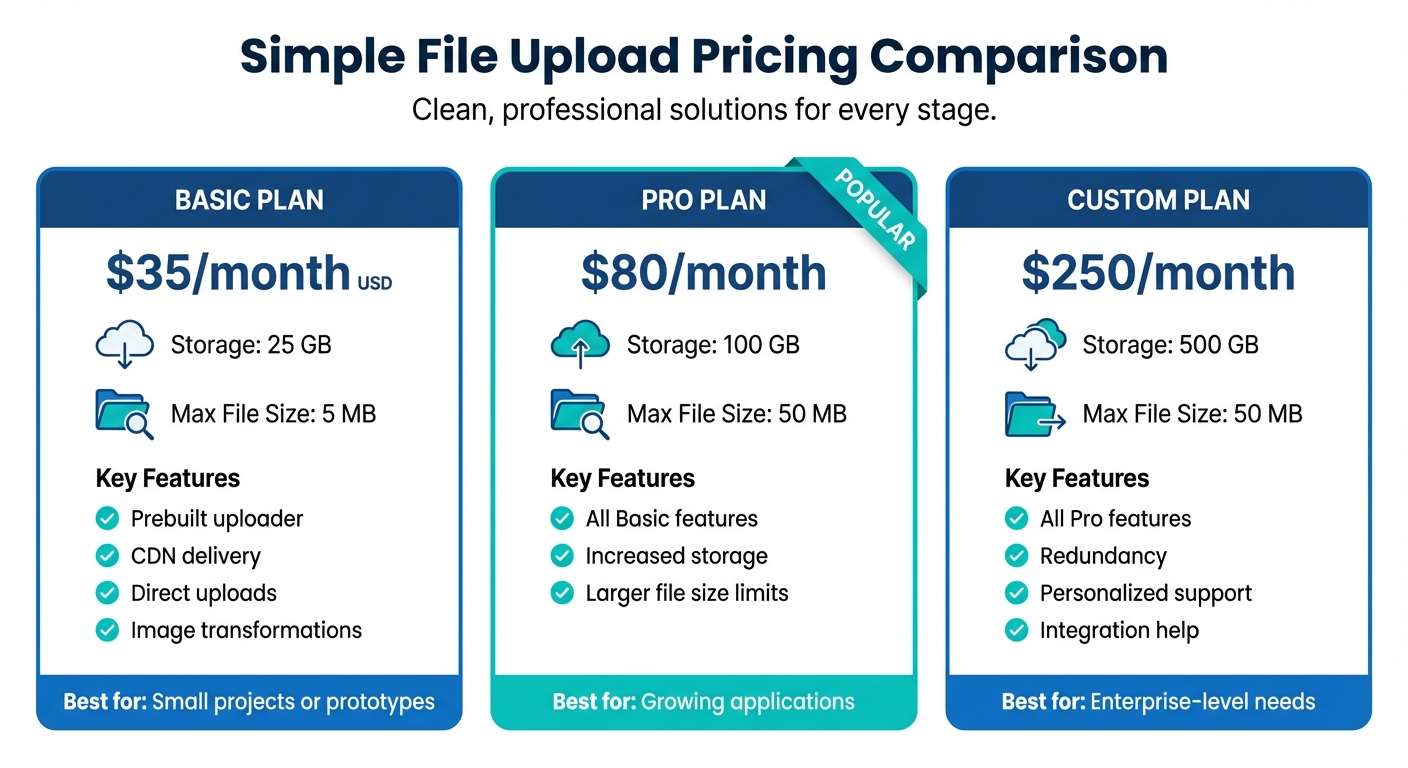
| Plan | Price | Storage | Max File Size | Key Features |
|---|---|---|---|---|
| Basic | $35/mo | 25 GB | 5 MB | Prebuilt uploader, CDN delivery, direct uploads, image transformations |
| Pro | $80/mo | 100 GB | 50 MB | Includes all Basic features plus increased storage and larger file size limits |
| Custom | $250/mo | 500 GB | 50 MB | Enterprise solution with redundancy, personalized support, and integration help |
The Basic plan is ideal for small projects or prototypes, while the Pro plan is a better fit for growing applications that require more storage and higher upload limits. For enterprise-level needs, the Custom plan offers dedicated support, redundancy, and tailored integration options.
Conclusion
Building an effective prebuilt uploader requires finding the right balance between security, performance, and user experience. As discussed earlier, this means implementing robust security measures, optimizing for speed and reliability, and creating a user-friendly interface that fosters trust and minimizes upload drop-offs.
By following these principles, you can ensure that your file uploader performs seamlessly across all fronts.
"Ready-made solutions take care of generic infrastructure problems, leaving you free to focus on building core functionality and growing your business." - Uploadcare
Tools like Simple File Upload make this process even easier. They allow developers to integrate powerful uploaders with minimal effort while outsourcing tasks like maintaining virus definitions, applying security patches, and managing infrastructure updates. These services often promise features like a 99.9% upload success rate and dependable storage uptime, saving you from the challenges of building secure file-handling systems from scratch. With such solutions, you can deliver a secure, efficient, and user-friendly uploader without the headaches of ongoing maintenance.
FAQs
What are the best ways to ensure secure file uploads when using prebuilt uploaders?
To keep file uploads secure when using a prebuilt uploader, start by implementing a strict set of rules. Define which file types are allowed and verify the file’s MIME type on the server side - don’t trust data from the client, as it can be easily faked. Set file size limits, such as 5 MB for images or 20 MB for documents, and rename uploaded files to unique identifiers. This prevents risks like path traversal or the accidental execution of harmful scripts.
For added protection, store files outside the web root or use a dedicated storage service like a CDN to block direct execution. Scan files for malware, strip out any malicious content when possible, and require users to authenticate before uploading. Also, safeguard the uploader endpoint against CSRF attacks and make sure the uploader libraries are always up-to-date.
Prebuilt solutions, like Simple File Upload, come with many of these protections already in place. Features like safe file naming, size restrictions, and secure storage on a global CDN are standard. You can also boost security further by configuring allowed MIME types, enabling malware scanning, and using signed URLs with expiration dates (e.g., "January 7, 2026, 12:00 PM UTC"). By combining these built-in tools with established best practices, you can effectively reduce the risks associated with file uploads.
How do direct-to-CDN uploads improve performance?
Direct-to-CDN uploads simplify and speed up the file transfer process by bypassing your web server completely. This approach cuts down on latency, reduces the strain on your server, and leads to faster upload speeds. Once the files are uploaded, they’re immediately accessible from edge locations worldwide, ensuring quicker delivery to users and boosting performance.
By shifting bandwidth and processing demands away from your server, direct-to-CDN uploads also enhance scalability. This makes them a smart solution for applications that handle heavy traffic or need to manage large file uploads efficiently.
How does using drag-and-drop in prebuilt uploaders improve the user experience?
Prebuilt uploaders with drag-and-drop functionality make file uploads much easier and more intuitive for users. Instead of clicking through a file picker, users can simply drag files from their desktop or file manager into a designated drop zone. This straightforward action not only saves time but also mirrors familiar desktop behaviors, making the process feel natural.
These drag-and-drop zones often include visual cues like highlighted borders, thumbnail previews, and progress bars. Such feedback reassures users that their files are being processed correctly and keeps them updated on upload progress. Plus, the ability to handle various file types and sizes ensures the uploader works smoothly for both desktop and mobile users.
For developers, Simple File Upload provides a prebuilt uploader with drag-and-drop capabilities. It’s a ready-to-use solution that eliminates the need to design an upload system from the ground up. This makes it easy to deliver a fast, user-friendly upload experience that helps users stay focused on their tasks.
Related Blog Posts
Ready to simplify uploads?
Join thousands of developers who trust Simple File Upload for seamless integration.