How to Secure File Uploads on Heroku with S3

Heroku's ephemeral storage makes local file uploads unreliable. To solve this, Amazon S3 offers scalable, durable storage. However, integrating S3 securely is critical to avoid risks like data leaks, malicious files, and configuration errors. This guide simplifies the process into four key steps:
- Set Up an S3 Bucket: Create a private bucket in the same AWS region as your Heroku app. Use IAM policies to grant minimal permissions and enable encryption for stored data.
- Use Pre-Signed URLs: Allow direct uploads to S3 with temporary, secure URLs, reducing Heroku server load and avoiding request timeouts.
- Validate Uploads: Verify file types, sizes, and names server-side to block harmful or oversized files. Sanitize filenames to prevent path traversal attacks.
- Simplify with Managed Services: Tools like Simple File Upload handle storage, security, and delivery, saving time and effort.
Build a web app with React, Express, Mysql, S3, Heroku | Live Lesson Demo
Step 1: Set Up and Secure Your S3 Bucket
Setting up your S3 bucket properly right from the start can save you from security issues later. This step lays the groundwork for secure and reliable file storage that integrates smoothly with your Heroku application. Follow these steps carefully to establish a solid, secure storage setup for your uploads.
Create an S3 Bucket
Head to the AWS Console, navigate to S3, and click Create bucket. Choose a globally unique bucket name, such as myapp-production-uploads-2025 or companyname-staging-files. Remember, the bucket name becomes part of its URL, so stick to DNS-compatible naming - use only lowercase letters, numbers, and hyphens, avoiding underscores, spaces, or sensitive information.
Select a region that matches your Heroku app's location (e.g., us-east-1). This minimizes latency and avoids unnecessary data transfer fees. For apps with high traffic or large file handling, these small optimizations can make a big difference in both performance and cost.
When configuring the bucket, ensure Block all public access remains enabled. This ensures files can only be accessed through controlled methods like pre-signed URLs or a CDN. Leaving this setting on is a simple yet effective way to prevent accidental exposure of sensitive data.
Set Up IAM Policies for Limited Access
Create a dedicated IAM user for your Heroku app instead of using root credentials. Assign this user only the permissions it absolutely needs - nothing extra.
Here’s an example of a practical IAM policy for most Heroku file upload scenarios:
{
  "Version": "2012-10-17",
  "Statement": [
    {
      "Effect": "Allow",
      "Action": [
        "s3:PutObject",
        "s3:GetObject"
      ],
      "Resource": "arn:aws:s3:::myapp-production-uploads-2025/*"
    }
  ]
}
This policy allows the user to upload (s3:PutObject) and retrieve (s3:GetObject) files, but only within your specific bucket. If you need the ability to delete files, you can add s3:DeleteObject to the list of actions. Avoid overly broad policies like s3:* on all resources - AWS often highlights such configurations as a common cause of data breaches.
Once the IAM user is set up, generate an access key and secret key. Store these credentials securely in Heroku config vars, not in your source code. Use the Heroku CLI to set them:
heroku config:set AWS_ACCESS_KEY_ID=AKIA... AWS_SECRET_ACCESS_KEY=... AWS_REGION=us-east-1 S3_BUCKET_NAME=myapp-production-uploads-2025
By storing credentials in environment variables, your AWS SDK can access them automatically, keeping sensitive information out of your codebase and Git repository. This approach aligns with Heroku's official S3 integration guidelines for languages like Node.js, Python, Ruby, and PHP.
To confirm your IAM policy is working as intended, test it using the AWS CLI with the new user's credentials:
aws s3 cp test.txt s3://myapp-production-uploads-2025/test.txt
aws s3 cp s3://myapp-production-uploads-2025/test.txt test-downloaded.txt
If these commands succeed and unauthorized actions or access to other buckets fail, your policy is correctly enforcing least-privilege access.
Once access is restricted, you can move on to securing your stored data with encryption.
Enable Encryption for Stored Data
Encrypting your files at rest is a must for any secure application. S3 provides server-side encryption, which automatically encrypts every object you upload without requiring changes to your application code.
Go to your bucket's Properties tab and enable Default encryption. For most use cases, SSE-S3 (AES-256) is a great starting point - it offers strong encryption at no additional cost. If you need more advanced key management and audit logging, you can opt for SSE-KMS, but keep in mind this comes with added costs and potential latency. For typical web applications hosted on Heroku, SSE-S3 is usually sufficient.
If you choose SSE-KMS, ensure your IAM policy includes permissions for the application user to use the specified KMS key for encryption and decryption.
With encryption enabled, even if someone gains access to the underlying storage infrastructure, your uploaded files - whether they’re user photos, documents, or sensitive data - will remain protected from unauthorized access.
Step 2: Configure CORS and Generate Pre-Signed URLs
If you're running a Heroku app and need to handle file uploads, enabling direct uploads to S3 is a smart way to reduce server load and avoid Heroku’s request limits. This method not only improves performance but also ensures large files don’t time out during uploads. The key to making this work securely lies in setting up CORS (Cross-Origin Resource Sharing) policies and generating pre-signed URLs.
Configure CORS for Secure Access
CORS policies determine which websites can interact with your S3 bucket from a browser. Without proper configuration, browsers will block uploads from your Heroku app due to security restrictions.
To set this up, go to your S3 bucket's Permissions and edit the CORS settings. Here’s an example configuration for a typical Heroku application:
[
  {
    "AllowedOrigins": [
      "https://your-app.herokuapp.com",
      "http://localhost:3000"
    ],
    "AllowedMethods": ["GET", "PUT", "POST"],
    "AllowedHeaders": [
      "Authorization",
      "Content-Type",
      "x-amz-date",
      "x-amz-acl",
      "x-amz-meta-*"
    ],
    "ExposeHeaders": ["ETag"],
    "MaxAgeSeconds": 3000
  }
]
Replace your-app.herokuapp.com with your actual Heroku app domain. The localhost:3000 entry is useful for development purposes, but you can remove or adjust it based on your setup.
Avoid using wildcards like "*" for AllowedOrigins in production, as this would open your bucket to any website that obtains a pre-signed URL. Similarly, limit AllowedMethods to only what’s necessary (e.g., PUT or POST for uploads). Restrict AllowedHeaders to those used by your upload process.
If you’re running separate staging and production environments, it’s a good idea to use different S3 buckets with distinct CORS policies. For instance, your staging bucket might allow https://myapp-staging.herokuapp.com, while the production bucket would only permit your main domain.
Once CORS is configured, you’re ready to generate pre-signed URLs for secure uploads.
Generate and Use Pre-Signed URLs
Pre-signed URLs allow you to temporarily grant upload permissions to specific files in your S3 bucket. These URLs include a cryptographic signature and an expiration timestamp, ensuring secure and time-limited access. This approach eliminates the need to expose AWS credentials in your app.
Here’s how the process works:
- A user selects a file in their browser.
- The browser sends the file’s metadata (name, type, size) to your Heroku app.
- Your app validates the data, generates a pre-signed URL using AWS credentials, and sends it back to the browser.
- The browser uploads the file directly to S3 using the pre-signed URL.
- Once the upload is complete, the browser notifies your app, which can store the file’s S3 object key in your database.
This method keeps file transfers off Heroku’s dynos, avoiding resource strain and Heroku’s 30-second request timeout.
Here’s an example implementation using Node.js with the AWS SDK v3:
import { S3Client, PutObjectCommand } from "@aws-sdk/client-s3";
import { getSignedUrl } from "@aws-sdk/s3-request-presigner";

const s3 = new S3Client({ region: process.env.AWS_REGION });

export async function createUploadUrl(req, res) {
  const { fileName, fileType } = req.body;

  // Generate a unique key to prevent overwrites
  const key = `uploads/${Date.now()}-${fileName}`;

  const command = new PutObjectCommand({
    Bucket: process.env.S3_BUCKET,
    Key: key,
    ContentType: fileType,
    ACL: "private"
  });

  const expiresIn = 300; // URL valid for 5 minutes
  const url = await getSignedUrl(s3, command, { expiresIn });

  res.json({ uploadUrl: url, objectKey: key });
}
This code ensures the pre-signed URL is valid for one specific file and restricts its use to a 5-minute window. On the client side, you can use the URL with a simple PUT request:
async function uploadWithPresignedUrl(file, uploadUrl) {
  const res = await fetch(uploadUrl, {
    method: "PUT",
    headers: { "Content-Type": file.type },
    body: file
  });

  if (!res.ok) throw new Error("Upload failed");
}
Make sure the Content-Type header matches the type specified when generating the pre-signed URL. To prevent abuse, always determine the object key on the server side and validate file types (e.g., image/jpeg, image/png, application/pdf).
For Python developers using boto3:
import boto3
import time
import os

s3_client = boto3.client('s3', region_name=os.environ['AWS_REGION'])

def create_upload_url(file_name, file_type):
    key = f"uploads/{int(time.time())}-{file_name}"

    url = s3_client.generate_presigned_url(
        'put_object',
        Params={
            'Bucket': os.environ['S3_BUCKET'],
            'Key': key,
            'ContentType': file_type,
            'ACL': 'private'
        },
        ExpiresIn=300  # URL valid for 5 minutes
    )

    return {'uploadUrl': url, 'objectKey': key}
Ruby developers can achieve the same with the aws-sdk-s3 gem, which provides methods like presigned_url for generating temporary URLs.
To avoid unexpected costs, validate file sizes before generating pre-signed URLs. AWS charges based on storage and data transfer, so setting reasonable upload limits is essential.
Step 3: Validate and Sanitize File Uploads
After securing S3 configurations and setting up pre-signed URLs, the next critical step is implementing robust file validation. While pre-signed URLs and CORS policies help manage access, they don't inherently secure file uploads. Server-side validation is non-negotiable - client-side checks can be bypassed with basic tools, leaving your system vulnerable. This step ensures harmful files, oversized uploads, and corrupted data never enter your S3 bucket.
The Open Web Application Security Project (OWASP) highlights that unrestricted file uploads are a common vulnerability, often leading to remote code execution or system compromise. Proper validation is your frontline defense.
Validate File Types and Sizes
Relying on file extensions or client-supplied MIME types is risky. Attackers can rename files (e.g., malicious.php to malicious.jpg) or spoof MIME types to bypass checks. Instead, validate files by inspecting their magic bytes - unique patterns at the start of a file that reveal its true type. For instance, JPEG files typically begin with FF D8 FF, while PNG files start with 89 50 4E 47.
Here’s how you can verify file types in Node.js using the file-type package:
import { fileTypeFromBuffer } from 'file-type';
import { S3Client, GetObjectCommand } from '@aws-sdk/client-s3';

async function validateUploadedFile(bucket, key, expectedType) {
  const s3 = new S3Client({ region: process.env.AWS_REGION });
  const command = new GetObjectCommand({ Bucket: bucket, Key: key });
  const response = await s3.send(command);

  // Read the first 4100 bytes
  const buffer = await streamToBuffer(response.Body, 4100);
  const fileType = await fileTypeFromBuffer(buffer);

  if (!fileType || fileType.mime !== expectedType) {
    throw new Error(`Invalid file type. Expected ${expectedType}, got ${fileType?.mime}`);
  }

  return true;
}
For Python, you can achieve the same with the python-magic library:
import magic
import boto3

def validate_uploaded_file(bucket, key, expected_type):
    s3 = boto3.client('s3')
    # Download the first 4096 bytes
    response = s3.get_object(Bucket=bucket, Key=key, Range='bytes=0-4095')
    sample = response['Body'].read()
    mime = magic.from_buffer(sample, mime=True)
    if mime != expected_type:
        raise ValueError(f"Invalid file type. Expected {expected_type}, got {mime}")
    return True
File size limits are equally important to prevent resource exhaustion and control costs. For example, AWS S3 charges about $0.023 per GB per month in the US East region. Without limits, uploads can quickly become expensive. Set maximum sizes based on your use case - 5 MB for profile pictures, 10 MB for documents, or 50 MB for videos. Validate file size before generating pre-signed URLs to avoid wasting bandwidth, and enforce limits using S3 bucket policies.
You can also enforce size limits directly when creating pre-signed URLs:
const command = new PutObjectCommand({
  Bucket: process.env.S3_BUCKET,
  Key: key,
  ContentType: fileType,
  ACL: "private",
  ContentLength: expectedSize // Enforce size limit
});
Additionally, configure your S3 bucket policy to reject oversized files:
{
  "Version": "2012-10-17",
  "Statement": [
    {
      "Effect": "Deny",
      "Principal": "*",
      "Action": "s3:PutObject",
      "Resource": "arn:aws:s3:::your-bucket/*",
      "Condition": {
        "NumericGreaterThan": {
          "s3:content-length": 10485760
        }
      }
    }
  ]
}
This policy blocks uploads larger than 10 MB (10,485,760 bytes) directly at the S3 level, serving as a backup if your application logic fails.
To ensure safety, maintain a whitelist of allowed file types. For instance, if your application only accepts images and PDFs, allow MIME types like image/jpeg, image/png, image/webp, and application/pdf. Reject any file types not explicitly permitted.
| Validation Check | Security Risk | Implementation |
|---|---|---|
| File extension only | Attackers can rename files to bypass filters (e.g., shell.php.jpg) |
Inspect magic bytes and enforce a MIME whitelist instead of relying on extensions |
| Client-reported MIME | Client-provided types can be spoofed | Verify the file signature on the server |
| No size limit | Resource exhaustion, high costs, DoS attacks | Set maximum file sizes in your app and enforce limits via S3 bucket policies |
| Blacklist approach | New attack vectors can emerge over time | Use an explicit whitelist of allowed file types |
After validating type and size, sanitize file names to eliminate risks like path traversal.
Sanitize File Names
User-provided filenames can introduce risks if they include unsafe characters or sequences. To avoid issues like path traversal (../../../etc/passwd) or special characters, generate unique keys for uploads. This prevents overwrites, blocks traversal attempts, and hides sensitive data.
Here’s a secure method in Node.js for generating safe file keys:
import { randomUUID } from 'crypto';
import path from 'path';

function generateSafeKey(originalFileName, userId) {
  // Extract the file extension if it's in the safe list
  const ext = path.extname(originalFileName).toLowerCase();
  const safeExt = ['.jpg', '.jpeg', '.png', '.pdf', '.webp'].includes(ext) ? ext : '';

  // Generate unique components
  const uuid = randomUUID();
  const timestamp = Date.now();

  // Organize by user and date for easier management
  const year = new Date().getFullYear();
  const month = String(new Date().getMonth() + 1).padStart(2, '0');

  return `uploads/${userId}/${year}/${month}/${timestamp}-${uuid}${safeExt}`;
}
This approach creates keys like:
uploads/user-123/2025/12/1733529600000-a1b2c3d4-e5f6-7890-abcd-ef1234567890.jpg
If you need to retain the original filename for display, store it as metadata instead:
const command = new PutObjectCommand({
  Bucket: process.env.S3_BUCKET,
  Key: safeKey,
  ContentType: fileType,
  ACL: "private",
  Metadata: {
    'original-name': sanitizeForMetadata(originalFileName)
  }
});
To sanitize the original filename for metadata:
function sanitizeForMetadata(filename) {
  // Remove path separators and other dangerous characters
  return filename
    .replace(/[\/\\:*?"<>|]/g, '')
    .replace(/\.\./g, '')
    .substring(0, 100)  // Limit length
    .trim();
}
Step 4: Simplify Integration with Simple File Upload
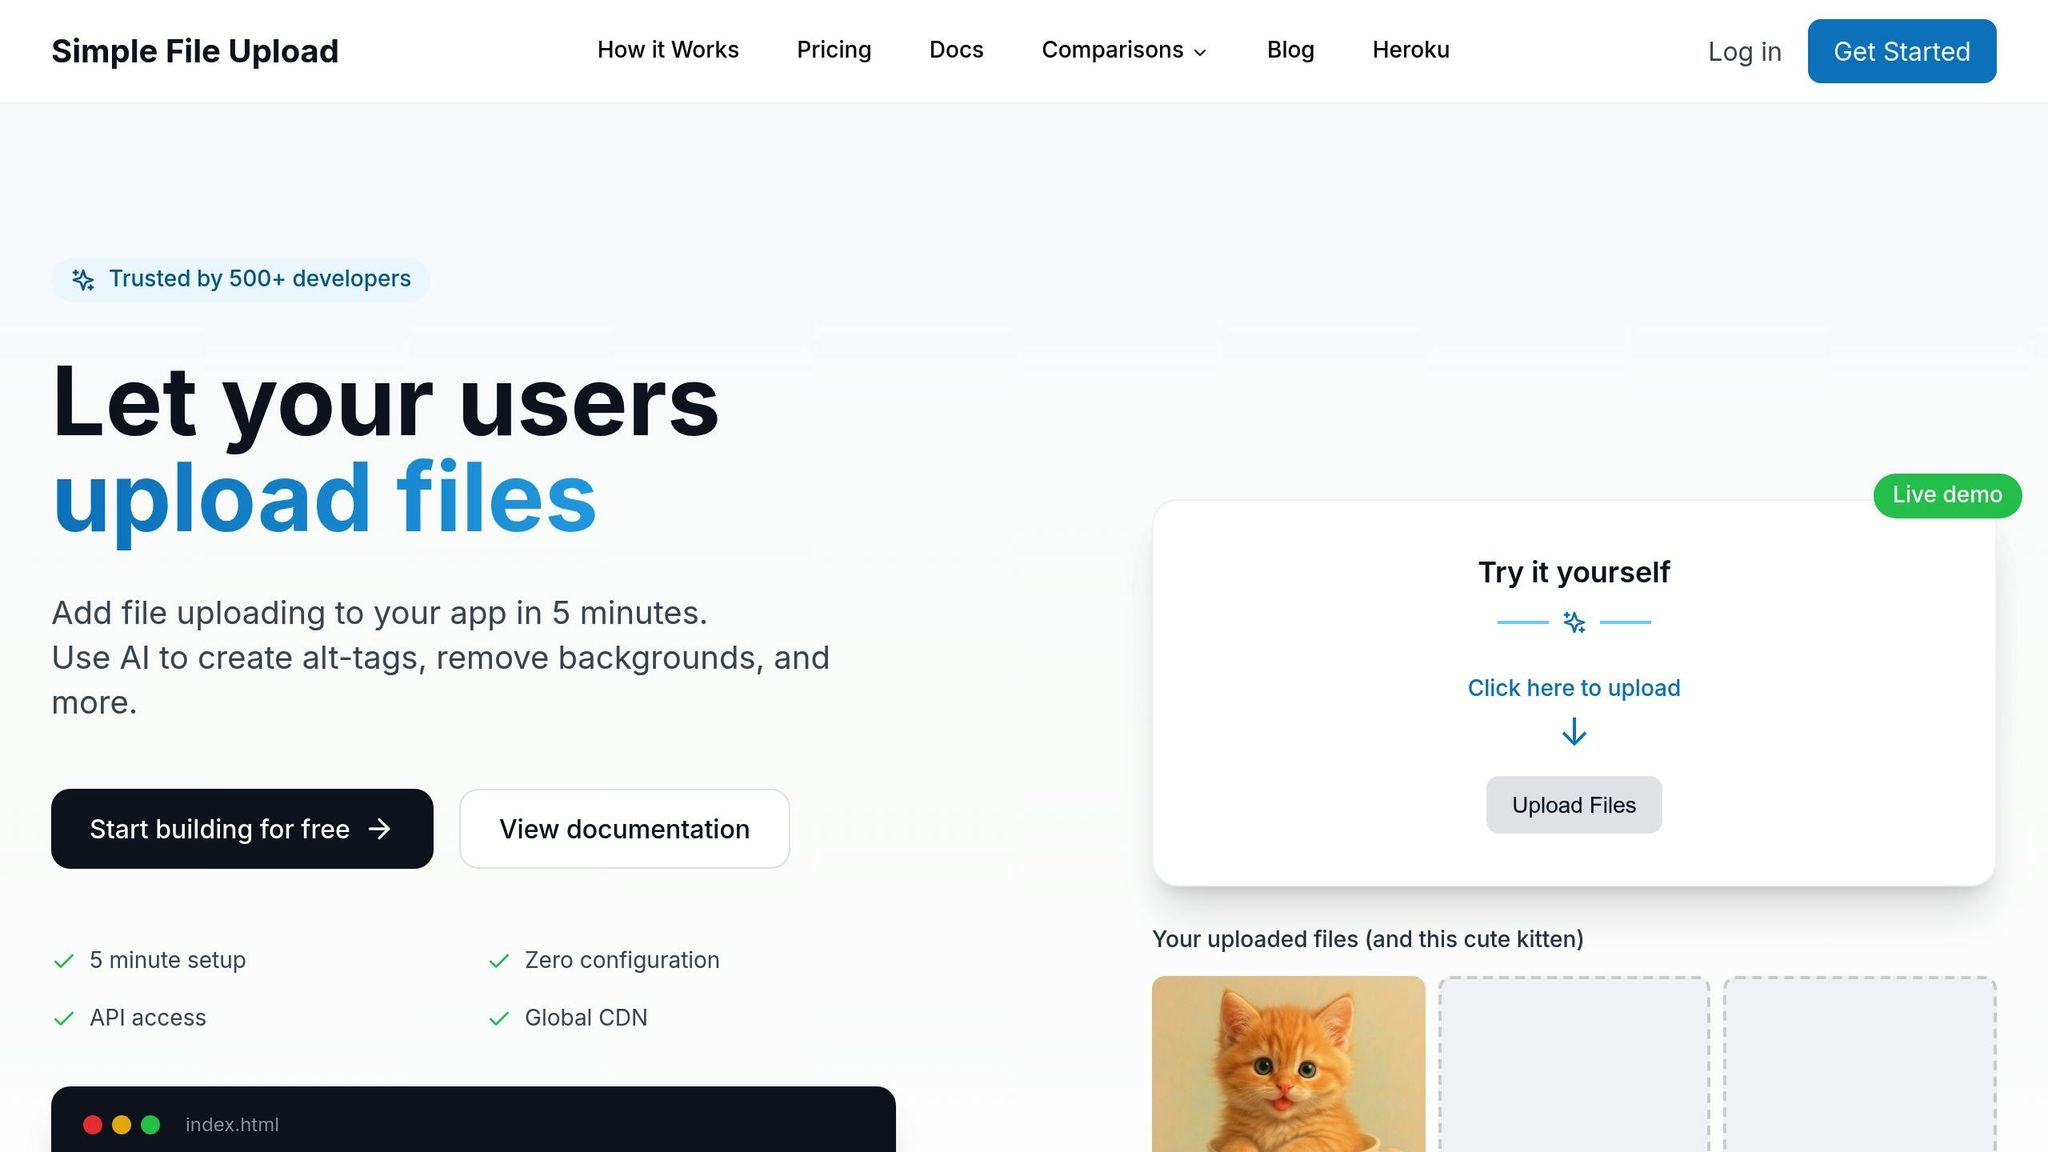
After covering the details of manual S3 configuration and validation, let's explore a simpler, managed solution. Setting up secure file uploads manually can be a daunting task, requiring intricate S3 and security configurations. While manual setups offer granular control, managed services like Simple File Upload streamline the process, saving time and effort.
Why Choose Simple File Upload?
If you’re looking to cut down on complexity and speed up implementation, Simple File Upload is worth considering. This managed service takes care of file upload infrastructure, eliminating the need for direct AWS configuration. Instead, you get a ready-to-use uploader that handles uploads, storage, and delivery - no more wrestling with CORS or bucket setup.
Direct uploads are a standout feature, especially for Heroku applications. Files go straight from the user's browser to cloud storage, bypassing your Heroku dynos entirely. This approach prevents issues like memory exhaustion and timeouts that can arise with pass-through uploads. By offloading file handling, your app can focus entirely on its core functionality.
The platform also enforces file type, size, and access restrictions during uploads. You can define allowed MIME types, file extensions, and maximum file sizes. Pricing plans range from $35 to $250 per month, depending on file size limits. These client-side checks ensure users get immediate feedback while you still validate file URLs server-side, as outlined in Step 3.
Global CDN delivery is another major perk. Files are automatically cached at over 200 edge locations worldwide, ensuring fast load times for users in the U.S. and beyond. This eliminates the need to set up a separate CDN like CloudFront. For applications heavy on media, like marketplaces or content platforms, this feature significantly improves performance without extra infrastructure work.
For image-heavy apps, Simple File Upload offers on-the-fly image transformations via URL parameters. Instead of running resource-intensive image processing libraries on Heroku, you can simply append parameters like ?width=300&height=300&fit=crop to file URLs. The service handles resizing, cropping, and optimization automatically, which is especially helpful given Heroku's limited dyno resources and ephemeral storage.
Additionally, the platform provides AI-generated alt-text for images, boosting accessibility with no extra effort. This feature is a time-saver for teams aiming to build compliant web applications without diving into machine learning integrations.
"Simple File Upload allowed my team to stop fighting with file uploading and focus on what matters - our customers. We had the uploader up and running in 5 minutes! It really is that easy!" - Drew Clemens, Founder, Protege.dev
How to Integrate Simple File Upload with Heroku
Integration is straightforward and works with most frameworks, including Node.js, Ruby on Rails, Python, and PHP - all commonly used on Heroku.
- Sign up and create a project at https://simplefileupload.com. You'll receive an API key to link uploads to your account.
-
Store your API key securely in Heroku's environment variables. Use the command:
This keeps sensitive credentials out of your source code, aligning with Heroku's best practices.heroku config:set SIMPLE_FILE_UPLOAD_API_KEY=your_key_here -
Add the JavaScript library to your frontend. For vanilla JavaScript, include the CDN script in your HTML:
For React apps, install the library via npm:<script type="module" src="https://cdn.simplefileupload.com/simple-file-upload.latest.js"></script>npm install simple-file-upload-react -
Embed the upload component where users need to upload files. For instance, in a user profile form:
This component provides a drag-and-drop interface, uploading files directly to cloud storage and returning a CDN-backed URL.<simple-file-upload public-key="YOUR_PUBLIC_KEY" max-file-size="5242880" accepted-types="image/jpeg,image/png,image/webp"> </simple-file-upload> -
Handle the returned file URL in your backend. For example, in a Rails controller:
Or in Node.js:def update @user = User.find(params[:id]) avatar_url = params[:user][:avatar_url] # Validate the file URL if avatar_url.present? && avatar_url.start_with?('https://simplefileupload.com/') @user.avatar_url = avatar_url @user.save end redirect_to @user endapp.post('/users/:id/avatar', async (req, res) => { const { avatarUrl } = req.body; // Verify the URL if (avatarUrl && avatarUrl.startsWith('https://simplefileupload.com/')) { await db.users.update(req.params.id, { avatar_url: avatarUrl }); res.json({ success: true }); } else { res.status(400).json({ error: 'Invalid file URL' }); } });
This setup ensures your Heroku app only stores file references, while Simple File Upload takes care of the heavy lifting - storage, security, and delivery.
For teams deciding between a managed service and custom S3 integration, Simple File Upload is ideal if you need quick deployment, expect fluctuating file volumes, or want built-in features like CDN delivery and image transformations without juggling multiple tools. It’s also a great fit for smaller teams without deep AWS expertise, as it minimizes the risk of security missteps.
"File uploading can be complicated and time-consuming for developers. With Simple File Upload, we were able to install the uploader quickly and provide file uploading from anywhere to our customers." - Robin Warren, Chief Dogsbody, Cherry Wood Software
For enterprise applications, the Custom plan ($250/month) includes redundancy across two storage providers, one-on-one support, and team integration assistance. This is especially useful for production SaaS platforms or marketplaces where file availability is critical to revenue.
Conclusion
To ensure secure file uploads on Heroku, combine S3 encryption, strict IAM policies, and time-limited pre-signed URLs. Start by setting up a dedicated S3 bucket with default encryption enabled and configure IAM policies to allow only s3:PutObject, s3:GetObject, and s3:DeleteObject on specific paths. Keep your buckets private to avoid unintentional data exposure.
Restrict CORS rules to match your Heroku app's domains, and use pre-signed URLs for direct browser uploads. These URLs should expire within minutes, keeping AWS credentials out of client-side code and reducing the load on your Heroku dynos.
Server-side validation is critical, even when using direct S3 uploads. Enforce file size limits to protect against denial-of-service risks and unexpected storage costs. Verify allowed MIME types server-side and sanitize file names by removing path separators and unsafe characters. Many teams opt to replace user-provided file names entirely with UUIDs or hashes, storing the original names in metadata for reference.
Store all AWS credentials securely in Heroku config vars, and never hard-code keys in your repository or frontend code. Use separate IAM users and buckets for staging and production environments, rotate keys regularly, and enable S3 server access logs or CloudTrail to monitor for unusual activity.
If managing these configurations feels overwhelming, a managed service like Simple File Upload can simplify the process. This service covers secure uploads, storage, CDN delivery across over 200 edge locations, and on-the-fly image transformations - without requiring direct AWS configuration. Pricing starts at $35 per month and scales up to $250 per month, with a Custom plan offering redundancy across two storage providers and one-on-one support for critical production needs.
Before launching, review this checklist to ensure your setup is secure:
- Enable default encryption on S3 buckets
- Apply least-privilege IAM policies
- Restrict CORS rules to Heroku domains
- Use pre-signed URLs with short expiration times
- Validate file types, sizes, and names server-side
- Securely store credentials in Heroku config vars
Whether you opt for a custom S3 integration or a managed service, implementing these measures will help you create a secure and efficient file upload process for your Heroku app.
FAQs
What security risks should I be aware of when using S3 buckets with Heroku?
Misconfigured S3 buckets can leave your application vulnerable to serious threats like unauthorized access, data breaches, and harmful file uploads. If access controls aren’t set up properly, sensitive files might become publicly available or susceptible to tampering by unauthorized parties.
To make secure file management easier, look into tools or services that automate S3 bucket policies and configurations. These solutions can help ensure that critical security settings - like access permissions and CORS rules - are applied correctly without requiring manual adjustments.
How do pre-signed URLs improve the security and performance of file uploads to Amazon S3 when using Heroku?
Pre-signed URLs let your Heroku app securely provide temporary access for uploading files directly to Amazon S3 - without revealing your AWS credentials. This setup ensures safe and efficient file uploads by skipping your server entirely, which reduces server load and boosts performance.
Using pre-signed URLs, you can define permissions, set file size limits, and specify expiration times. These features give you greater control over the upload process while adding an extra layer of security to protect against unauthorized access. It’s a smart way to simplify and safeguard file uploads in your application.
Why is server-side validation important when using pre-signed URLs for file uploads to S3?
When it comes to safeguarding data integrity and security, server-side validation plays a critical role - even when using pre-signed URLs. Pre-signed URLs make secure direct uploads to S3 possible, but they don’t automatically check or validate the content being uploaded.
By adding server-side validation, you can confirm that uploaded files align with your application’s specific requirements, like acceptable file types, size limits, and content standards. This extra step helps block malicious files or unwanted data from slipping through, providing protection for both your system and its users.
Related Blog Posts
Ready to simplify uploads?
Join thousands of developers who trust Simple File Upload for seamless integration.