How to upload files and add files to Loveable
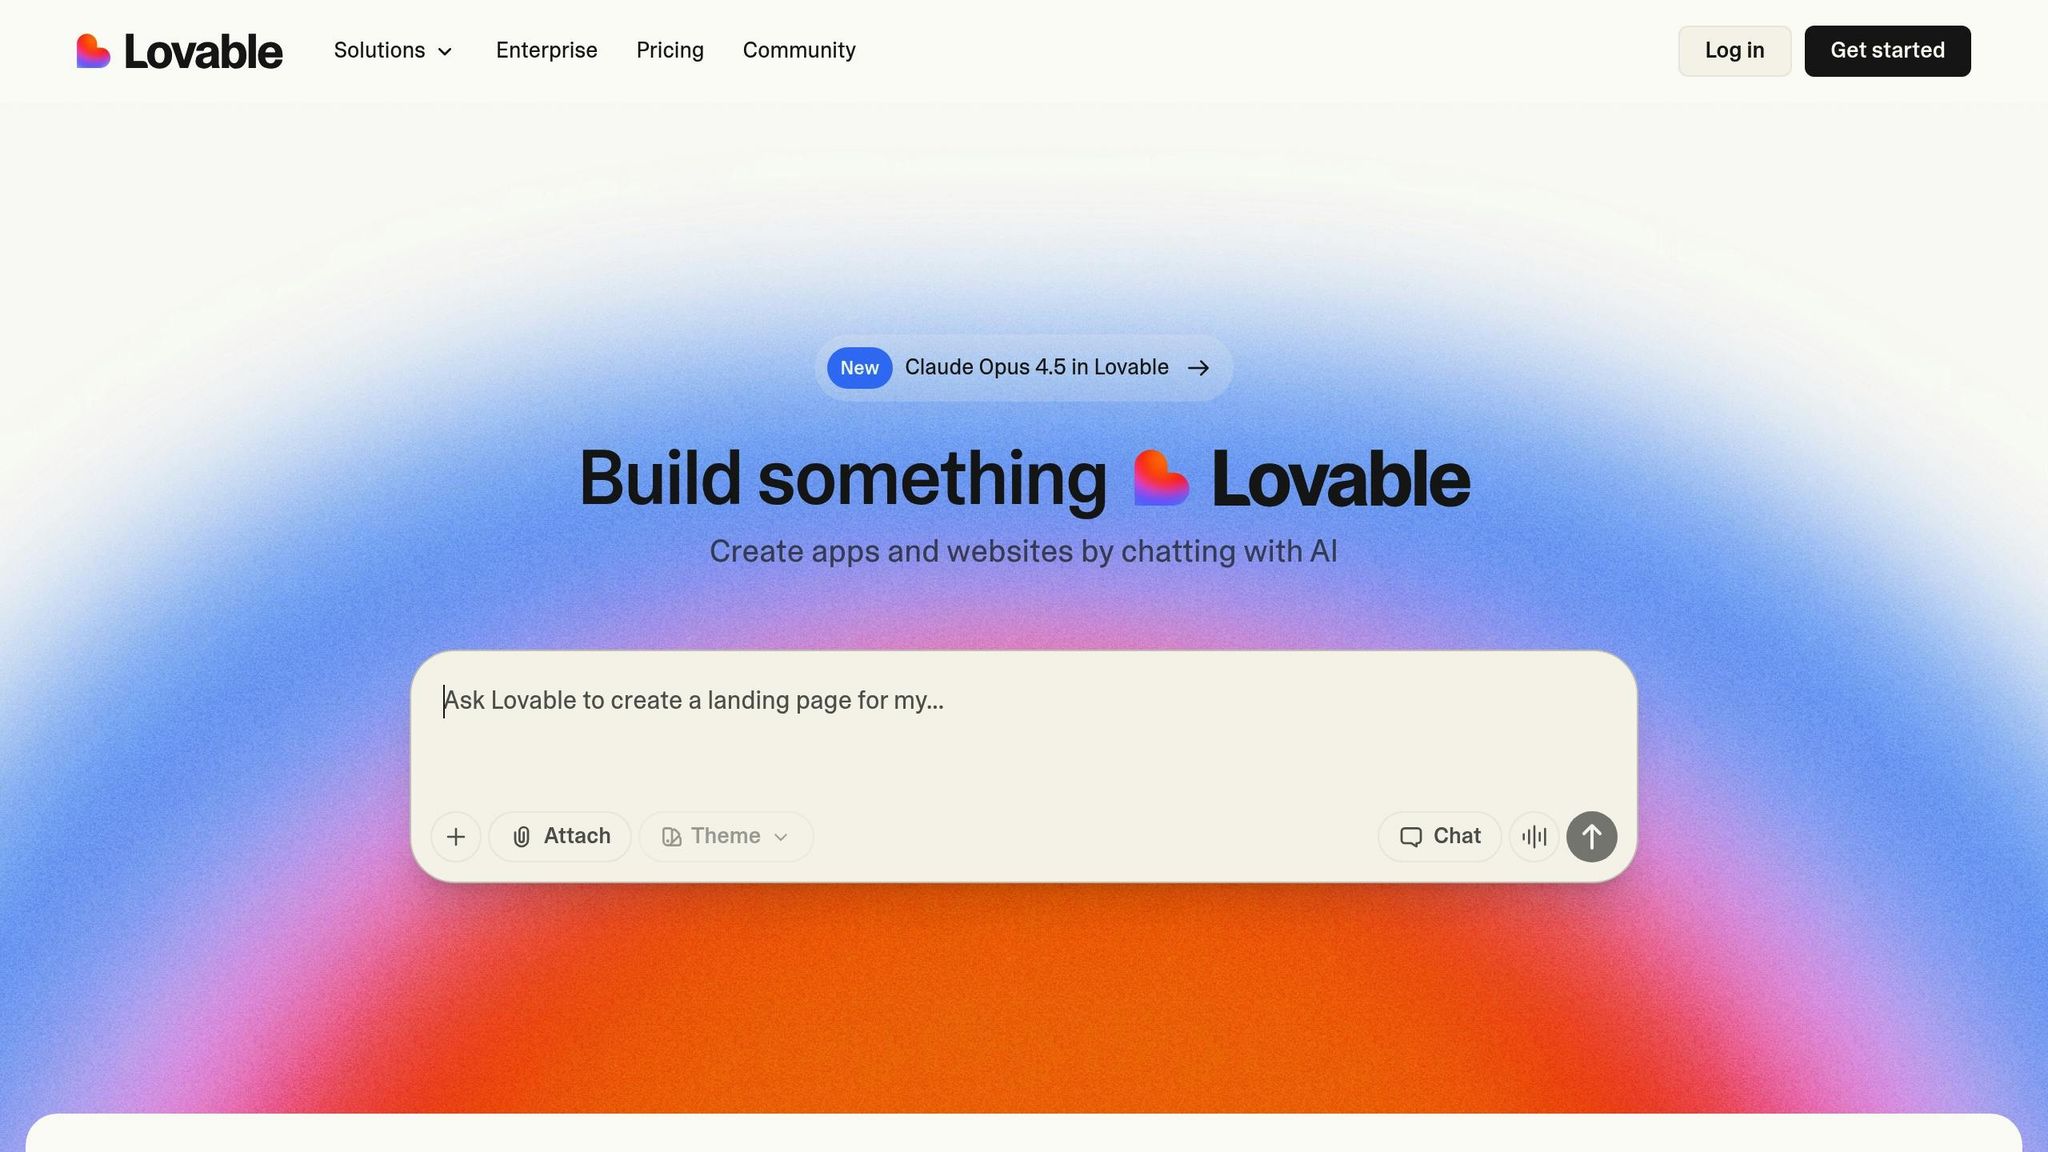
Loveable is an AI-powered platform for building web apps using natural language prompts and visual tools. Adding files - like images, PDFs, or user uploads - can make your app more dynamic and interactive. Here’s how to handle file uploads and management in Loveable:
- File Types Supported: Upload images (JPG, PNG, SVG), documents (PDFs), and videos (MP4).
- Storage Options: Use GitHub for static assets or external services for user uploads.
- Setup: Connect your Loveable project to a GitHub repository for file organization and version control.
- Uploading Files: Use the AI-powered prompt chat for quick integration or the visual editor for precise updates.
- User Upload Features: Build upload components with Loveable’s AI and integrate services like Simple File Upload for secure storage.
- Optimize Files: Compress images, limit file sizes (e.g., PDFs under 5 MB), and use lazy loading to improve performance.
Mastering file management in Loveable ensures smoother workflows and better app performance.
Lovable Tutorial for Beginners (Best AI App Builder?)
Setting Up Your Loveable Project for File Uploads
Getting your Loveable project ready for file uploads involves connecting to GitHub, organizing your file structure, and keeping performance in check. These steps ensure that file uploads integrate smoothly with Loveable's features.
Connecting GitHub to Your Loveable Project
Integrating GitHub with your Loveable project is a key step for managing static files. It gives you access to the public directory where assets like images, videos, and documents are stored. Plus, GitHub's version control makes it easy to track changes and collaborate with other developers.
To set this up, head to your Loveable project settings and find the GitHub integration option. Authorize Loveable to access your GitHub account, and it will either create a new repository or link to an existing one for your project. This repository will house all your project files, including the all-important public folder.
The public folder is where you’ll place static assets. Files stored here can be accessed directly through URLs (e.g., /logo.png), making it perfect for logos, icons, and other static content. Once GitHub is connected, you can manage these files through Loveable's interface or directly via GitHub. Both methods work seamlessly together, giving you flexibility in how you handle your assets.
With GitHub connected, the next step is to organize your files effectively.
Creating a Folder Structure for Files
A clean and logical folder structure is essential for maintaining your project and helping others navigate your codebase. Within the public directory, create subfolders based on asset types and their purpose. This structure becomes even more important as your project grows.
- Images: Create an
imagesfolder for photos, icons, and graphics. You can further organize it with subfolders likeicons,backgrounds, or any other categories relevant to your app. For instance, an e-commerce app might have subfolders for product images, promotional banners, and category graphics. - Videos: Store all video content in a
videosfolder. Keeping videos separate helps manage performance and keeps things tidy, especially if your app includes demos or tutorials. - Documents: Use a
documentsfolder for PDFs and other downloadable resources like user guides, terms of service, or privacy policies. - Assets: Add an
assetsfolder for anything that doesn’t fit elsewhere, such as fonts, configuration files, or data files in formats like JSON or CSV.
When naming files, stick to lowercase letters and use hyphens instead of spaces (e.g., product-hero-banner.jpg instead of Product Hero Banner.jpg). This approach avoids URL issues and makes files easier to identify. Avoid generic names like image1.jpg or file.pdf, which can become confusing over time.
Once your folder structure is in place, it’s time to focus on file sizes and performance.
File Size Limits and Performance Impact
File size plays a huge role in your app's loading speed, which directly affects user experience and search engine rankings. Users expect fast-loading websites, and large files can slow things down - especially on slower connections.
Here are some general guidelines for file sizes:
- Images: Keep them under 500 KB, with logos and icons ideally under 100 KB. Optimize product images for faster loading.
- Videos: Limit video files to 10 MB if hosting them on GitHub. For larger videos, consider using external hosting services and embedding them in your app.
- PDFs: Aim for files under 5 MB, compressing them as needed while keeping them readable.
Use tools to compress images before uploading. Modern compression techniques can significantly reduce file sizes without sacrificing quality. Converting images to WebP format can also improve performance. For PDFs, optimize embedded images and compress the file itself to minimize size.
Keep in mind that GitHub recommends a maximum file size of 50 MB per file, with a repository size ideally under 1 GB. Exceeding these limits can cause performance issues and make your repository harder to manage. If your project involves many large files, explore external storage solutions instead of relying solely on GitHub.
It’s not just about individual file sizes - think about the total weight of your page. Loading multiple images or videos can quickly add up, leading to delays for users on slower connections. Use lazy loading for images below the fold, so they load only when users scroll to them. Loveable supports these optimizations, but they work best when your files are already optimized.
Finally, keep an eye on load times using your browser’s Network tab. If you notice delays, start by identifying the largest files and look for ways to compress them or load them more efficiently.
How to Upload Files in Loveable
Loveable gives you several options to upload files into your project, helping you streamline your workflow. Below, we break down each method so you can pick the one that fits your needs best.
Uploading Files Through the Prompt Chat
The prompt chat makes use of Loveable's AI Agent to help you place files exactly where they belong, making file integration a breeze.
To upload a file using the chat, simply drag and drop it or click to upload. Loveable supports a variety of file types, including images, documents (like CSV, XLSX, PDF, and PPTX), video and audio files (MP4, MP3), and fonts (TTF, OTF). Once your file is uploaded, you can type a command such as, "Replace the logo in the navbar with this image."
The AI Agent will analyze your file and use it as context for your command. If you don’t provide specific instructions, it will determine the most logical placement for the file. You can also upload reference materials, such as Figma files or screenshots, to guide placement or extract data from documents to populate your app.
For quick visual tweaks, you might prefer using the visual editor.
Replacing Files in the Visual Editor
The visual editor offers a hands-on way to replace files, allowing for precise, real-time updates.
Activate edit mode by clicking the Edit tool within the Loveable visual editor. From there, click on the specific image holder or UI component you'd like to update. You'll see options to replace or update the file directly through the editor’s interface.
Changes made in the visual editor are displayed instantly. For instance, if you're running a seasonal campaign and need to swap out banner images, the visual editor lets you make those updates quickly and easily.
Choosing the Right Method
Both chat-based uploads and the visual editor have their strengths, depending on your needs.
- Chat-based uploads are perfect for early-stage prototyping or when you’re experimenting with layouts and want Loveable's AI to suggest file placements automatically.
- The visual editor is ideal when you know exactly what needs to be updated and where. It’s especially useful for stakeholders who prefer a straightforward, click-and-edit approach.
Each method offers flexibility, so you can work in the way that feels most efficient for your project.
Managing Files Through GitHub
When your Loveable project is connected to GitHub, it opens up a world of possibilities for managing files. You gain full control over your file structure and version history, making it an excellent option for developers who work with repositories or teams that need to track changes across multiple files. Here's how you can use GitHub to streamline file management within Loveable.
Adding Files to the Public Folder
The public folder in your GitHub repository is where you store static assets like images, fonts, and documents that your Loveable app can access directly.
To add files to this folder, navigate to the public folder in your connected repository on GitHub. Then, click Add file > Upload files. You can drag and drop files or select them individually. Be sure to commit your changes with a clear message, such as "Add product images for homepage carousel."
Once you commit, GitHub processes the upload and syncs it with your Loveable project. The files will typically be available within seconds, though larger files or bulk uploads might take a little longer to show up.
Using File Paths from GitHub in Loveable
After uploading your files, referencing them in Loveable is straightforward. File paths adhere to standard web conventions.
Files in the public folder can be accessed using paths that start with a forward slash. For example, if you upload a logo to public/images/logo.png, you can reference it in Loveable as /images/logo.png.
To instruct the AI Agent in Loveable, use these exact paths. Try commands like "Update the header to use the logo at /images/logo.png" or "Add the hero image from /assets/hero-banner.jpg to the landing page." The AI will understand these paths and apply them directly to your components.
For files stored in nested folders, extend the path accordingly. For instance, a file saved in public/assets/icons/menu.svg would be referenced as /assets/icons/menu.svg. This consistent structure ensures you can easily locate and use files as your project grows.
GitHub vs. Direct Upload: A Comparison
Choosing between GitHub uploads and direct uploads in Loveable depends on your workflow and project requirements. Each method has its strengths, which can suit different scenarios.
| Factor | GitHub Upload | Direct Upload in Loveable |
|---|---|---|
| Ease of Use | Requires familiarity with Git workflows and repository navigation | Simple drag-and-drop or visual editor for immediate changes |
| Version Control | Tracks detailed file changes with a full commit history | Limited history; changes are immediate without tracking |
| Team Collaboration | Ideal for teams managing files with pull requests and reviews | Best for individuals or small teams with straightforward needs |
| Performance | Files served via GitHub's CDN with reliable caching | Optimized delivery through Loveable |
| File Organization | Complete control over folder structure and naming conventions | Automatic placement or manual organization within Loveable |
| Maintenance | Requires periodic commits and syncing | Instant updates without additional steps |
| Best For | Teams handling frequent updates and version-critical assets | Quick iterations, rapid prototyping, or stakeholder-driven adjustments |
GitHub is ideal for teams working on production applications. It allows multiple contributors to manage files without conflicts, provides an audit trail, and makes it easy to roll back changes if needed. This approach is especially useful when you’re dealing with assets that require version control, like logos or brand fonts.
On the other hand, direct uploads in Loveable are perfect for solo developers or small teams aiming for speed. The visual editor and prompt chat let you make quick edits or swap files instantly, which is great when you need to show stakeholders immediate updates or experiment with designs.
For the best of both worlds, consider combining these methods. Upload foundational assets - like logos and core images - through GitHub to maintain version history and organization. Use direct uploads for temporary files or elements that change frequently during the design phase. Once finalized, you can move these files to GitHub for long-term management. This balanced approach ensures you’re both efficient and organized.
Building User File Upload Features in Loveable Apps
Adding user upload capabilities to your app not only broadens its functionality but also boosts interactivity. With the Loveable framework, you can create efficient and secure file upload features by combining functional components, secure storage integration, and robust validation. Here's how you can make it happen.
Creating File Upload Components
Loveable's AI Agent simplifies the process of creating file upload components by generating code from natural language prompts. This eliminates the need for repetitive coding tasks.
Start by describing the upload interface you envision. For instance, you could use prompts like:
- "Create a drag-and-drop file upload zone with a dashed border and upload icon."
- "Add a file input button that accepts images and shows a preview after selection."
The AI will generate the necessary HTML structure and styling, complete with functionality. For more advanced features, such as progress indicators or multi-file uploads, try prompts like:
- "Build a file uploader that shows upload progress with a percentage bar."
- "Create an upload component that allows users to select multiple files and displays thumbnails in a grid."
These components typically include HTML <input type="file"> elements paired with JavaScript for handling file selection. You can further refine the user experience by specifying details like:
- "A clickable upload card that opens the file browser when clicked."
- "A large, touch-friendly upload button with clear instructions for mobile users."
Integrating Simple File Upload for User Files
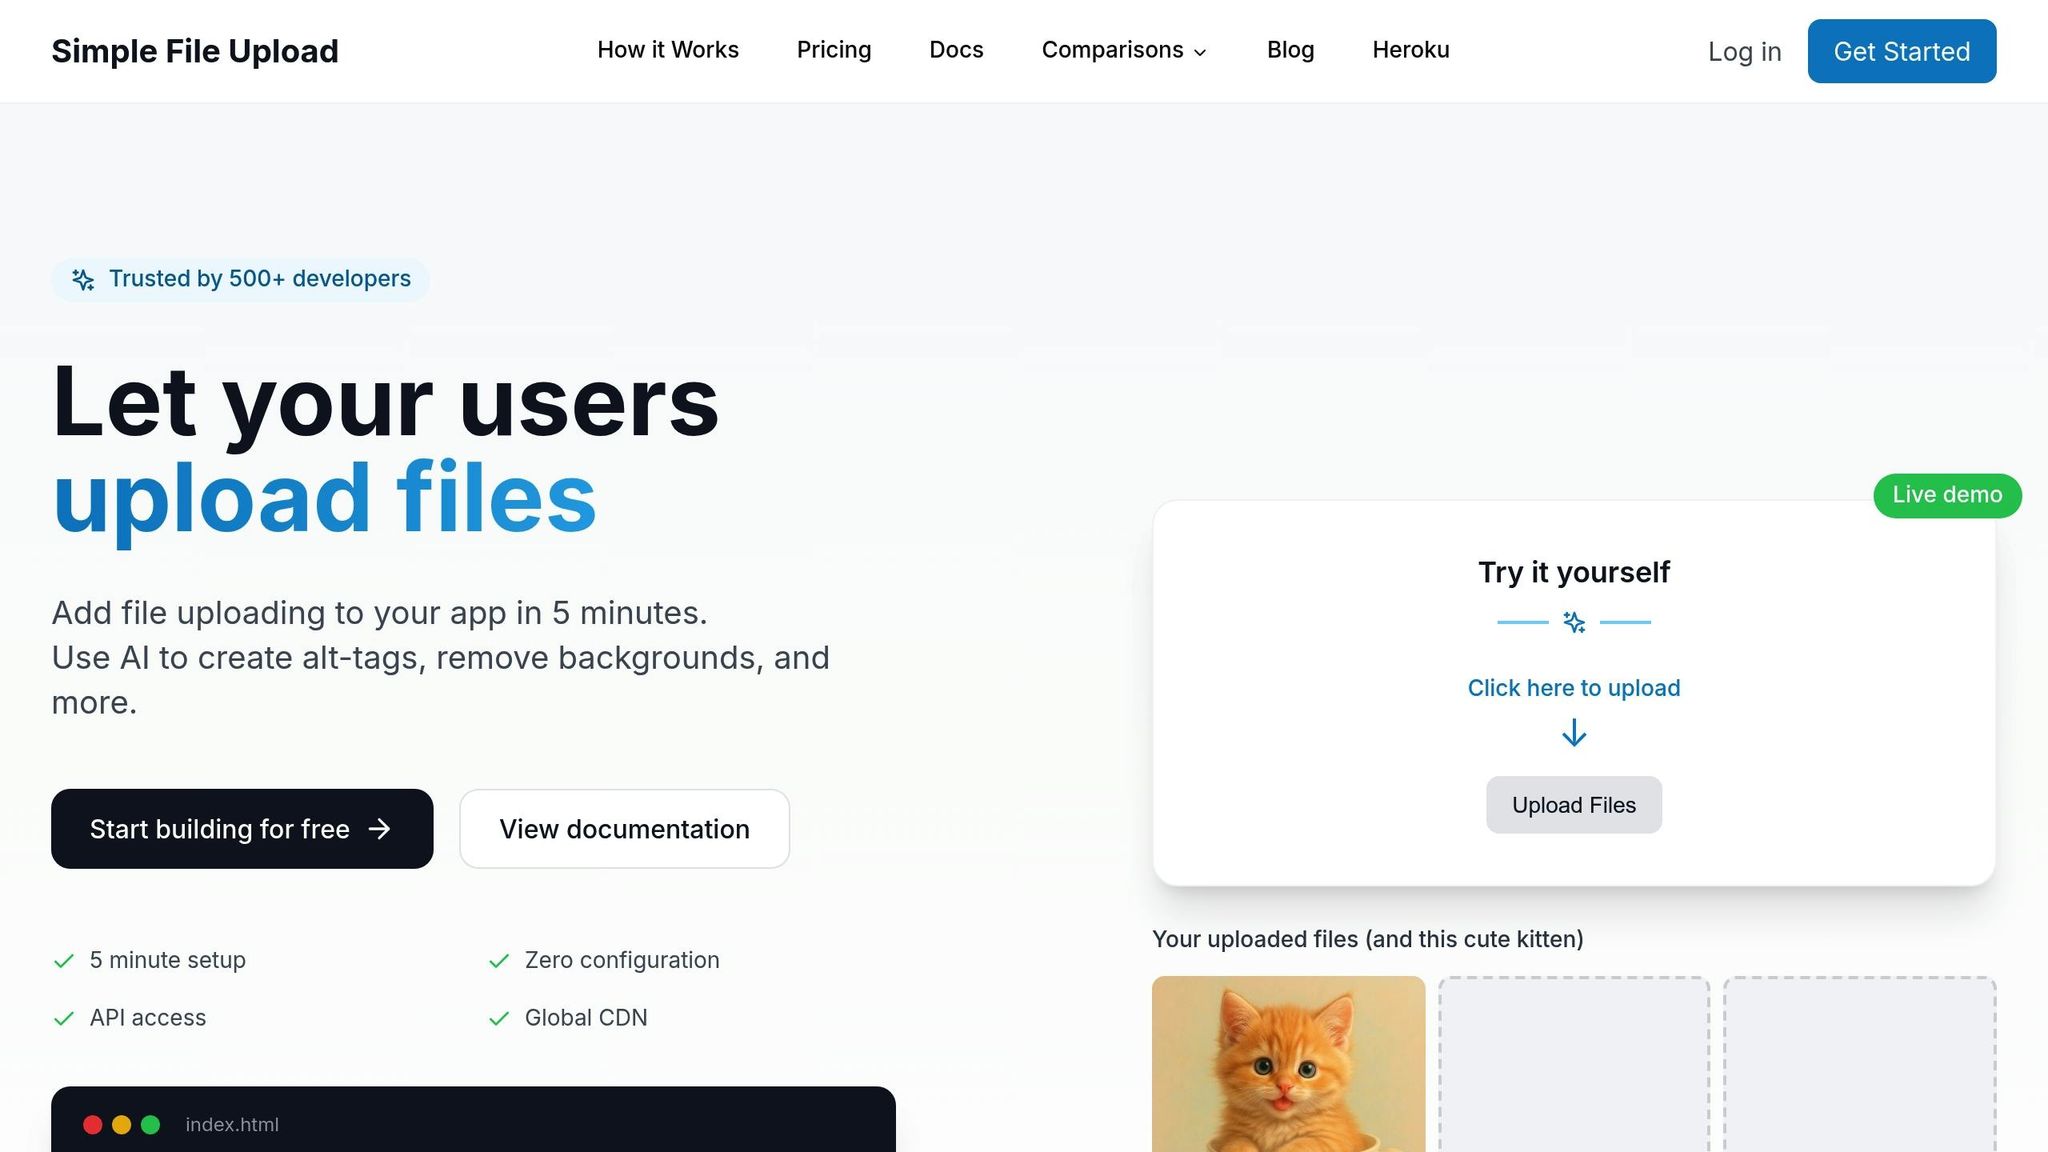
Once your upload components are ready, connect them to a backend service like Simple File Upload. This service integrates seamlessly with Loveable apps, offering fast and reliable file delivery through a global CDN without requiring additional server infrastructure.
To get started, sign up for Simple File Upload and obtain an API key. Pricing plans include:
- Basic Plan: $35/month for 25 GB of storage and a 5 MB file size limit.
- Pro Plan: $80/month for 100 GB of storage and a 50 MB file size limit.
Instruct Loveable to include the Simple File Upload JavaScript library by saying something like:
- "Add the Simple File Upload script to the project and initialize it with my API key."
Once the library is integrated, you can define how files should be handled. For example:
- "When a user selects a file, upload it using Simple File Upload and save the returned URL to the database."
- "After the file uploads successfully, display the file URL in a text field and show a success message."
The returned URL from Simple File Upload points to the file on their CDN, making it easy to reference throughout your app. For instance, if a user uploads a profile picture, you can use the URL in an <img> tag to display the image.
Additionally, Simple File Upload supports on-the-fly image transformations. By appending transformation parameters to the file URL, you can generate thumbnails or resize images as needed.
File Type Validation and Size Limits
To ensure security and maintain a smooth user experience, it's essential to validate file types and sizes before uploading. Allowing unrestricted uploads can lead to potential risks and inefficiencies.
For file type restrictions, specify accepted formats when creating the upload component. Use prompts like:
- "Only allow PDF and JPG files in the upload component."
- "Restrict uploads to PNG, JPG, and GIF images under 5 MB."
The AI will add the accept attribute to your file input, enabling basic browser-level filtering. For example, a resume submission feature might accept PDFs, DOC, and DOCX files under 2 MB, while a photo gallery app could allow JPG, PNG, and HEIC files up to 10 MB.
However, since users can bypass the accept attribute, additional JavaScript validation is necessary. Instruct Loveable with prompts like:
- "Before uploading, check that the file type matches the allowed types and show an error message if it doesn't."
File size validation is equally important to prevent oversized uploads that could exceed your storage limits or slow down your app. Use prompts such as:
- "Check that files are under 5 MB before uploading and display an error if they're too large."
Provide clear error messages to guide users. For example:
- "Display a red error message below the upload button that says 'File must be a PDF under 2 MB' when validation fails."
For a better user experience, consider adding client-side previews. You could say:
- "Show a preview of image files after selection but before upload, with a cancel button to choose a different file."
Keep in mind that Simple File Upload's Basic plan has a built-in 5 MB file size limit. Ensure your client-side validation matches or is stricter than this limit to avoid conflicting error messages.
If your app has varied upload requirements, you can set different limits for different features. For example:
- A profile picture uploader might only allow JPG and PNG files under 1 MB.
- A document submission feature could accept PDFs up to 10 MB.
Instruct Loveable separately for each use case to tailor the upload experience to your app's needs.
Best Practices for File Management in Loveable
As your Loveable app grows, keeping file performance in check becomes essential. Proper file management not only boosts performance but also ensures a seamless experience for users. Here are some practical tips to keep things running smoothly.
Improving File Performance
File performance plays a key role in how quickly your app loads. Large or unoptimized files can slow down repository cloning and delay preview startups.
- Optimize images before uploading. Compress and resize images to match their actual display dimensions. For example, avoid uploading high-resolution files for small icons - it’s unnecessary and increases load times.
- Stick to web-safe fonts or Google Fonts to minimize additional load times.
- Set file size limits based on the specific needs of your project. This keeps processing efficient and avoids unnecessary strain on resources.
Conclusion
Managing files effectively in Loveable comes down to selecting the best approach for your specific workflow. Loveable provides several file-handling options to fit different needs: prompt-based uploads for AI-assisted integration, GitHub repositories for structured version control, and Simple File Upload for user-submitted content.
To keep your project running smoothly, it’s important to optimize how you handle files. For example, compress images before uploading to avoid slow load times and reduce storage demands. Set reasonable file size limits - like 10 MB for PDFs - to ensure smooth processing and avoid upload errors. These small adjustments can make a big difference as your project grows.
Another key practice is committing stable features as fallback points. This creates a safety net, allowing you to quickly revert to a reliable version if something goes wrong during development.
Successful projects in Loveable rely on well-organized file structures, optimized assets, and regularly updated Knowledge Base documentation. Keeping everything in order minimizes bugs and keeps development moving forward without unnecessary delays.
Loveable’s file management strikes a balance between ease of use and control. Direct uploads are ideal for quick prototyping, while GitHub integration works best for team collaborations and production-level projects. By combining these methods, you can adapt to your project’s evolving needs, handle assets efficiently, and maintain a smooth development workflow.
FAQs
What are the advantages of using GitHub integration for managing files in Loveable projects?
Integrating GitHub with Loveable offers a range of benefits that simplify file management. First, it provides smooth version control, allowing you to track changes effortlessly and revert to earlier versions when necessary. This makes managing revisions a breeze and ensures nothing important gets lost.
Collaboration becomes easier too. Team members can work on shared files without worrying about overwriting each other's contributions, reducing errors and improving productivity.
On top of that, GitHub integration lets you automate workflows, like syncing files between your Loveable project and GitHub repositories. This automation keeps everything consistent, cuts down on manual tasks, and makes managing files more straightforward and dependable.
How can I make sure uploaded files don’t slow down my Loveable app?
To keep your app running smoothly while handling uploaded files, here are some practical tips to follow:
- Compress files before uploading: Smaller files mean less storage space and reduced bandwidth usage, which can significantly improve performance.
- Set upload size limits: Define a maximum file size for uploads to prevent oversized files from slowing down your app.
- Choose scalable storage: Opt for a cloud storage solution that grows with your needs and integrates effortlessly with Loveable.
- Enable file caching: Cache frequently accessed files to ease server load and speed up response times.
These strategies will help you manage file uploads effectively without compromising your app's performance.
How can I securely enable file uploads in my Loveable app?
To ensure secure file uploads in your Loveable app, here are some essential steps to follow:
- Validate file uploads: Allow only specific file types that your app requires (like PDFs), and set a reasonable file size limit, such as 10 MB. This helps prevent misuse and ensures smoother handling of files.
- Leverage built-in tools: Make use of Loveable's native file handling features. These tools are designed to offer secure upload and storage options, reducing the risk of vulnerabilities.
- Control user access: Set up authentication and role-based permissions so that only authorized users can upload files. This adds an extra layer of security.
- Focus on server-side security: Always validate files on the server side. Additionally, restrict access to uploaded files to prevent unauthorized downloads or misuse.
By implementing these steps, you can provide a safe and efficient file upload process for your users.
Related Blog Posts
Ready to simplify uploads?
Join thousands of developers who trust Simple File Upload for seamless integration.