How to upload files with Vercel

Uploading files on Vercel requires understanding its serverless limits and choosing the right strategy based on file size and storage needs. Here’s what you need to know:
- Server-Side Uploads: Best for files under 4.5 MB. Use API Routes to validate and process files before storing them. Ideal for scenarios requiring backend logic.
- Client-Side Uploads: Directly upload files from the browser to Vercel Blob for larger files. This avoids the 4.5 MB limit and reduces server load.
- Simple File Upload: A managed service that handles uploads, storage, and delivery. Starts at $35/month for 25 GB and supports features like CDN delivery and image transformations.
Key Considerations:
- Vercel Functions are stateless, so files must be stored immediately.
- Use Vercel Blob for native storage or Simple File Upload for ease of use.
- Security measures like file validation, HTTPS, and signed URLs are crucial.
Choose the method that aligns with your file size, performance, and complexity needs. Below, I’ll explain how to implement these strategies step-by-step.
File uploads in Next JS 14 just got SO MUCH EASIER!!
Choosing Your Upload Strategy on Vercel
When deciding how to handle file uploads on Vercel, it's essential to weigh the pros and cons of server-side and client-side approaches. Each has its strengths and limitations, influenced by Vercel's serverless nature. Below, we break down these methods to help you determine the best fit for your application.
Server Uploads vs. Client Uploads
Server-side uploads involve routing files through Vercel Functions, such as API Routes or Server Actions in Next.js. This method centralizes your upload logic on the backend, making it easier to validate files, enforce security, and integrate with server-side workflows. However, there’s a key limitation: Vercel Functions have a 4.5 MB request body size limit. Files exceeding this size will fail to upload.
Additionally, server-side uploads come with performance considerations. Functions may experience cold starts, leading to delays if they haven’t been recently executed. For handling high traffic, Vercel offers automatic scaling - up to 30,000 concurrent executions on Pro plans and 100,000 on Enterprise plans. During sudden spikes, burst concurrency allows up to 1,000 concurrent executions per 10 seconds per region.
Client-side direct uploads skip the server entirely, sending files straight from the browser to storage. This approach avoids the 4.5 MB limit, allowing you to handle much larger files without bottlenecks. It also reduces server-side load and eliminates concerns about function timeouts.
However, client-side uploads require more effort on the frontend. You’ll need to handle secure upload credentials, manage the direct transfer, and address errors - all without relying on server-side intermediaries. This method is ideal for large files or when reducing server overhead is a priority.
Keep in mind that Vercel functions are stateless, so files should be transferred to permanent storage immediately.
Comparison Table for Decision Making
| Approach | Performance Impact | Complexity | Best Use Cases |
|---|---|---|---|
| Server Uploads (via API Routes/Server Actions) | Limited to 4.5 MB request body size. Scales up to 30,000 concurrent executions on Pro, 100,000 on Enterprise. | Uses @vercel/blob SDK with server-side logic and environment variables for Blob store token. Easier integration with backend workflows. |
Small files under 4.5 MB. Form submissions with light backend processing. Scenarios requiring server-side validation and logic. |
| Client Uploads (to Vercel Blob) | Avoids Vercel Function size limits, supporting larger files. Reduces server-side load and avoids timeout issues. | Requires client-side code for direct uploads and secure credential handling. | Large files over 4.5 MB. High-volume uploads where minimizing server resource usage is crucial. Media-heavy apps needing direct file transfers. |
| Integrating Simple File Upload | Offloads upload, storage, and delivery to a managed service with CDN and image processing. No size or timeout restrictions. | Minimal setup with managed infrastructure. Reduces development complexity. | Projects needing managed storage starting at $35/month for 25 GB. Apps requiring CDN delivery and built-in image transformations. Teams prioritizing ease of use over custom solutions. |
The right strategy depends on your application's needs. For smaller files like profile pictures or documents under 4.5 MB, server-side uploads via API Routes are straightforward and efficient. For larger files, such as high-res images or videos, client-side direct uploads are better suited. If you’re looking for a fully managed solution with minimal setup, services like Simple File Upload can streamline the process from upload to delivery.
Next, we’ll explore how to implement these strategies on Vercel.
How to Implement File Uploads on Vercel
You can handle file uploads on Vercel using three main approaches: server-side uploads via API Routes, client-side direct uploads to Vercel Blob, or Simple File Upload for a managed solution. The choice depends on your file size requirements and how much control you want over the upload process.
Server Uploads with API Routes
Server-side uploads are a good option for files under 4.5 MB. This method routes the file through a Next.js API Route, allowing centralized validation and storage.
First, install the Vercel Blob package:
npm i @vercel/blob
Create a Blob store in the Vercel dashboard to get your BLOB_READ_WRITE_TOKEN. Sync your local environment variables using the Vercel CLI.
Next, set up an API route to handle uploads. In the Next.js App Router, create a file at app/api/upload/route.ts:
import { put } from '@vercel/blob';
import { NextResponse } from 'next/server';

export async function POST(request: Request) {
  const formData = await request.formData();
  const file = formData.get('file') as File;

  if (!file) {
    return NextResponse.json(
      { error: 'No file provided' },
      { status: 400 }
    );
  }

  const blob = await put(file.name, file, {
    access: 'public',
  });

  return NextResponse.json(blob);
}
This API route extracts the file from the form data, uploads it with put, and returns the public blob URL. Since files pass through the Vercel Function, this method adheres to the 4.5 MB limit.
On the client side, create a simple upload form:
'use client';
import { useState } from 'react';

export default function UploadForm() {
  const [url, setUrl] = useState<string | null>(null);

  async function handleSubmit(e: React.FormEvent<HTMLFormElement>) {
    e.preventDefault();
    const formData = new FormData(e.currentTarget);

    const response = await fetch('/api/upload', {
      method: 'POST',
      body: formData,
    });

    const data = await response.json();
    setUrl(data.url);
  }

  return (
    <form onSubmit={handleSubmit}>
      <input type="file" name="file" required />
      <button type="submit">Upload</button>
      {url && <p>File uploaded: {url}</p>}
    </form>
  );
}
For larger files or to reduce server load, consider client-side uploads.
Client Uploads with Vercel Blob
Client-side uploads send files directly from the browser to Vercel Blob, bypassing the server. This approach is ideal for files larger than 4.5 MB, as it avoids the Vercel Function's body size limit. To secure client uploads, you'll use a token exchange that generates temporary credentials.
Create a client upload page at src/app/avatar/upload/page.tsx:
'use client';
import { type PutBlobResult } from '@vercel/blob';
import { upload } from '@vercel/blob/client';
import { useState, useRef } from 'react';

export default function AvatarUploadPage() {
  const inputFileRef = useRef<HTMLInputElement>(null);
  const [blob, setBlob] = useState<PutBlobResult | null>(null);

  return (
    <>
      <h1>Upload Your Avatar</h1>
      <form
        onSubmit={async (event) => {
          event.preventDefault();

          if (!inputFileRef.current?.files) {
            throw new Error('No file selected');
          }

          const file = inputFileRef.current.files[0];
          const newBlob = await upload(file.name, file, {
            access: 'public',
            handleUploadUrl: '/api/avatar/upload',
          });

          setBlob(newBlob);
        }}
      >
        <input name="file" ref={inputFileRef} type="file" required />
        <button type="submit">Upload</button>
      </form>
      {blob && (
        <div>
          Blob URL: <a href={blob.url}>{blob.url}</a>
        </div>
      )}
    </>
  );
}
Then, create the corresponding server-side API route at app/api/avatar/upload/route.ts:
import { handleUpload, type HandleUploadBody } from '@vercel/blob/client';
import { NextResponse } from 'next/server';

export async function POST(request: Request): Promise<NextResponse> {
  const body = (await request.json()) as HandleUploadBody;

  try {
    const jsonResponse = await handleUpload({
      body,
      request,
      onBeforeGenerateToken: async (pathname) => {
        // Add authentication/authorization logic here
        return {
          allowedContentTypes: ['image/jpeg', 'image/png', 'image/gif'],
          addRandomSuffix: true,
        };
      },
      onUploadCompleted: async ({ blob, tokenPayload }) => {
        // Update your database with the uploaded file URL
        console.log('Upload completed:', blob.url);
      },
    });

    return NextResponse.json(jsonResponse);
  } catch (error) {
    return NextResponse.json(
      { error: (error as Error).message },
      { status: 400 }
    );
  }
}
For local testing, keep in mind that the onUploadCompleted callback might not work with localhost. Vercel Blob requires access to your server, so you may need a tunneling service like ngrok. Update your .env.local file with the VERCEL_BLOB_CALLBACK_URL variable.
Integrating Simple File Upload
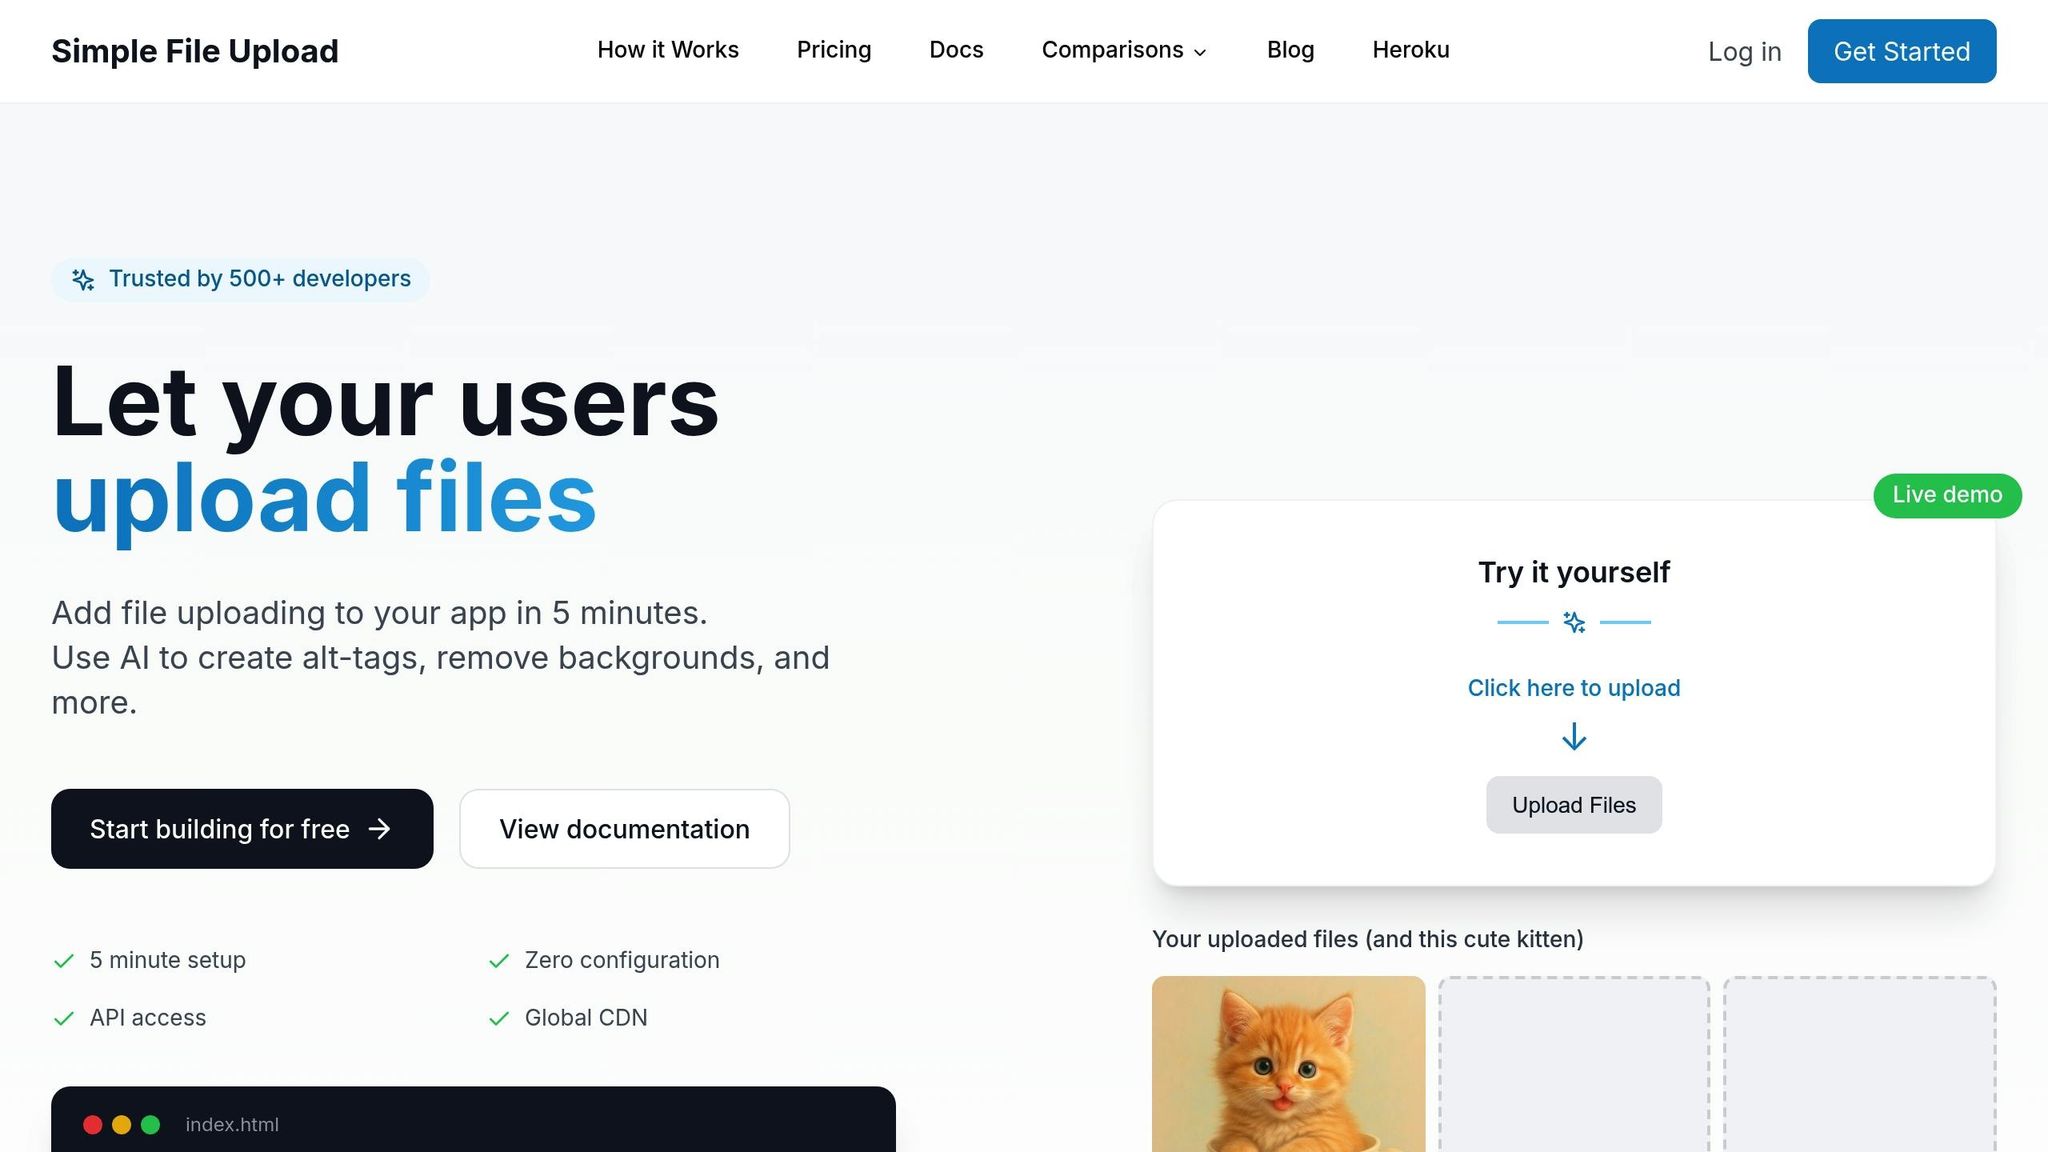
For a fully managed solution, Simple File Upload simplifies the process by handling file uploads, storage, and delivery through a global CDN. This service is perfect if you want features like AI-powered alt-text generation or on-the-fly image transformations without setting up infrastructure.
Simple File Upload offers a prebuilt uploader component that you can embed in your React app. The service manages everything, from file storage in redundant cloud systems to optimized delivery through a CDN.
Plans start at $35/month and scale based on storage and file size needs. Once a file is uploaded, the service provides a CDN URL for immediate use. It also optimizes images for web delivery and supports resizing or cropping with transformation parameters.
This option is ideal if you want a seamless, ready-to-use solution for your file upload needs.
Managing and Delivering Uploaded Files
Once files are uploaded, it's essential to focus on efficient delivery and cost management to ensure smooth performance.
File Delivery with Vercel Blob
Vercel Blob simplifies file delivery with its integrated CDN, removing the need for manual caching. It offers two data transfer options to suit different performance needs. Blob Data Transfer operates through 18 hubs, making it ideal for cost-efficient, high-volume downloads. On the other hand, Fast Data Transfer leverages 94 cities worldwide for ultra-low latency. The system is built on Amazon S3, ensuring reliable storage that seamlessly integrates with Vercel's delivery network.
Delivery costs depend on several factors, including storage size, basic operations (like cache misses or head() requests), advanced operations (such as put(), copy(), list()), Blob Data Transfer, edge requests, and fast origin transfers. For handling large files like videos, using presigned URLs for client-side uploads directly to Blob is a smarter choice. This approach minimizes server load by bypassing your server during the upload process. It's also worth noting that storing large media files in the public/ folder is not recommended. Doing so increases deployment size and skips optimized caching mechanisms.
With delivery in place, the next step is to explore accessibility and performance enhancements.
Improving Accessibility and Performance with Simple File Upload
Simple File Upload boosts file delivery by integrating accessibility and performance features directly into its workflow. This managed service complements Vercel’s architecture, streamlining the process from upload to delivery. One standout feature is AI-powered alt-text generation, which automatically creates descriptive text for images. This helps ensure your application meets accessibility standards while improving user experience.
Files are delivered through a global CDN, distributing content across multiple locations to serve requests from the nearest edge server. This reduces latency and speeds up load times. Additionally, on-the-fly image transformations allow you to resize, crop, or optimize images via URL parameters. This eliminates the need to store multiple versions of the same image, saving storage space and offering greater flexibility in how images are displayed. The service also manages redundancy across multiple storage providers, ensuring files remain accessible even if one provider faces downtime.
These features not only enhance performance but also align with cost-efficient storage strategies.
Planning Storage and Delivery Costs
Managing file upload costs requires balancing storage needs, file size limits, and usage patterns. Simple File Upload provides three pricing plans to suit various application scales:
| Plan | Monthly Cost | Storage | Max File Size | Best For |
|---|---|---|---|---|
| Basic | $35 | 25 GB | 5 MB | Small applications handling profile pictures, documents, or limited media |
| Pro | $80 | 100 GB | 50 MB | Growing applications with frequent image uploads, PDFs, or moderate video content |
| Custom | $250 | 500 GB | 50 MB | Enterprise-level apps needing dedicated support and handling high-volume files |
To estimate your needs, calculate the average file size and monthly upload volume. For instance, if your app processes 1,000 profile picture uploads per month, with each image averaging 2 MB, you'll need about 2 GB of storage monthly - well within the Basic plan's capacity. However, if you're running a platform where users upload high-resolution images averaging 8 MB, the Pro or Custom plan may be more suitable.
Also, think about your delivery patterns. Applications with frequent file access, like e-commerce sites displaying product images, benefit significantly from CDN caching. This reduces bandwidth costs while improving user experience. For apps with unpredictable growth, starting with a lower-tier plan and scaling up based on usage metrics ensures you maintain adequate capacity while managing costs effectively.
Security and Best Practices for File Uploads
When it comes to file uploads, security isn't just important - it's essential. Protecting your application and user data requires careful planning to fend off threats like malicious files, unauthorized access, and data breaches.
Securing Upload Endpoints
If you're using Vercel Blob for client uploads, security starts with a token exchange between your server and Vercel Blob. This ensures that file transfers are secure, even when handled directly from the browser. The server-side handleUpload function (available in the @vercel/blob/client package) plays a key role here. It generates tokens and triggers an onBeforeGenerateToken callback, where you can implement authentication and authorization logic. For example, you might include a tokenPayload containing user identification details. This payload is then sent to your server through the onUploadCompleted callback for further processing. By authenticating users beforehand, you can block malicious actors from obtaining signed tokens without proper identity checks.
Vercel’s REST API is secured with Access Tokens (valid for one hour) and single-use Refresh Tokens (valid for 30 days), which are passed via the Authorization header.
But authentication alone isn’t enough. Server-side file validation is critical. Always validate file types and enforce file size limits to prevent abuse - don’t rely solely on client-side checks, as they can be bypassed. These measures, combined with Vercel's architecture, ensure secure file handling across all endpoints.
Handling Public vs. Private Files
Effective access control begins with differentiating between public and private files. Public files - like product images or blog media - are accessible to anyone with the URL. On the other hand, private files, such as sensitive user documents, should be restricted to authorized users only.
Public files typically use straightforward, predictable URLs. Meanwhile, private files require more secure, non-guessable URLs that are time-limited and signed for added protection.
All data stored on Vercel, including files on Vercel Blob, is encrypted both at rest (using AES-256) and in transit (via HTTPS/TLS). If your application handles sensitive or personal data, you’ll need to consider compliance requirements. Vercel holds certifications like ISO 27001:2013, SOC 2 Type 2 attestation, PCI DSS, and HIPAA for enterprise customers. It’s also GDPR-compliant and certified under the Data Privacy Framework.
Best Practices Checklist
Here are some practical steps to help you secure file uploads:
| Practice | Implementation Location | Why It Matters |
|---|---|---|
| Authenticate users before allowing uploads | Server (API routes) | Prevents unauthorized users from uploading files. |
| Validate file types and enforce file size limits | Server (API routes) | Protects against malicious uploads and misuse. |
| Use time-limited signed URLs for sensitive files | Server (API routes) | Limits access to private content with expiring links. |
| Always use HTTPS to encrypt transfers | Client and Server | Safeguards data in transit from interception. |
| Properly manage access and refresh tokens | Server (API routes) | Secures REST API interactions. |
These practices form the backbone of a strong security strategy. Regularly review your processes, keep an eye on server logs for suspicious activity, and update your security measures as your application grows and evolves. This proactive approach will help you stay ahead of potential threats.
Conclusion
This guide has provided practical strategies for incorporating file uploads on Vercel. We've covered how Vercel's serverless architecture supports file uploads, detailing the options between server-side and client-side approaches, setting up secure endpoints, and efficiently managing storage.
Server-side uploads give you complete control over file validation and processing, while client-side uploads lighten server load by transferring files directly from the browser. These strategies simplify integration, especially when paired with managed solutions.
Using a service like Simple File Upload can streamline the process by addressing the challenges of serverless functions. Instead of building custom upload workflows, maintaining storage infrastructure, or setting up CDN delivery from scratch, this platform offers a ready-to-use solution that integrates easily with Vercel. It also includes helpful features like automatic alt-text generation for accessibility, image transformations for optimization, and global CDN delivery - all in one package.
To ensure security and reliability, always authenticate users before allowing uploads, validate file types and sizes on the server, and use time-limited signed URLs for sensitive content.
Start implementing your upload endpoint today and refine it as your application grows. Whether you're managing product images, user documents, or media files, combining Vercel's serverless capabilities with Simple File Upload's features provides a reliable and scalable solution. Check out Simple File Upload's framework integrations to save time and maintain the flexibility needed for custom implementations.
FAQs
What’s the difference between server-side and client-side file uploads on Vercel?
The key difference between these two methods lies in how and where the file is handled during the upload process.
With server-side file uploads, files are processed and stored using Vercel's serverless functions on the backend. This setup gives you more control over things like validation, security, and integration with storage solutions. It’s a great option if you’re dealing with sensitive data or need to perform extra processing on the files before saving them.
In contrast, client-side file uploads let users send files directly from their browser to a third-party storage service or API, skipping the server altogether. This approach can lighten the server's workload and speed things up, but it often requires extra security measures to ensure the data is handled safely.
Deciding which method to use comes down to what your app prioritizes - whether it’s security, performance, or simplicity.
How can I use Vercel Blob to securely handle and deliver large media files?
Vercel Blob provides a way to securely handle and deliver large media files by creating unique, hard-to-guess URLs. These URLs safeguard access to your files while taking advantage of Vercel's global infrastructure to ensure fast and dependable delivery.
This solution is particularly well-suited for managing large files, streamlining both storage and access while keeping security and performance intact.
What are the best security practices for managing file uploads on Vercel?
To keep file uploads secure on Vercel, consider implementing these key practices:
- Use encryption: Protect uploaded files with AES-256 encryption using tools like Vercel Blob. This ensures data remains secure during transfer and while stored.
- Implement firewalls: Vercel offers a Web Application Firewall (WAF) and DDoS mitigation to defend against malicious traffic. You can also set up custom rules to add an extra layer of protection.
- Validate files: Check file types, sizes, and content on both the client and server sides. This prevents harmful or unauthorized files from being uploaded and processed.
By applying these strategies, you can secure your file uploads without sacrificing performance.
Related Blog Posts
Ready to simplify uploads?
Join thousands of developers who trust Simple File Upload for seamless integration.