How to Upload Large Files to Amazon S3

Uploading large files to Amazon S3 can be challenging, but using multipart upload solves many issues like slow speeds and interruptions. This method splits files into smaller parts that upload simultaneously, improving speed and reliability. For example, a 485 MB file uploaded 61% faster with multipart upload compared to a single-part method.
Here’s what you need to know:
- Multipart Upload: Breaks files into parts (5 MB to 5 GB) and uploads them in parallel.
- Setup: Use the AWS CLI or SDKs like Boto3 (Python) or AWS SDK for JavaScript.
- Steps: Start with
CreateMultipartUpload, upload parts, and finalize withCompleteMultipartUpload. - Tools: Enable S3 Transfer Acceleration for faster uploads over long distances.
- Best Practices: Choose the right part size (e.g., 16 MB for large files) and handle errors with retries.
For easier integration, consider tools like Simple File Upload, which simplifies the process with prebuilt components and presigned URLs. This approach avoids directly managing AWS credentials and streamlines file uploads.
If you’re uploading files larger than 100 MB, multipart upload is the go-to method for faster, more reliable transfers.
How do I use the AWS CLI to upload a large file in multiple parts to Amazon S3?
Setting Up Your Environment for Large File Uploads
To handle files as large as 50 TB securely and efficiently in AWS, you'll need to configure your environment with the right permissions and tools. Start by setting up your AWS account and ensuring it’s prepared for secure file interactions.
Creating an AWS Account and Setting Permissions

Begin by signing up for an AWS account through the official AWS website. AWS offers a Free Tier for new users, which allows you to explore S3 features at no cost initially, or learn how to create an HTML file upload for your own applications.
Instead of using the root account, create a dedicated IAM user for day-to-day operations. This user should have an Access Key ID and Secret Access Key to authenticate requests through the CLI or SDK. Assign permissions based on your needs - whether full access for development or specific actions like s3:PutObject and s3:CreateBucket. For added security, enable multi-factor authentication (MFA) on your root account as soon as possible.
To confirm your setup, use the following command:
aws sts get-caller-identity
Also, keep the "Block all public access" setting enabled unless you have a specific reason to disable it, such as hosting a static website.
Creating and Configuring Your S3 Bucket
When creating an S3 bucket, make sure the name is globally unique, using only lowercase letters, numbers, periods, and hyphens. Choose an AWS Region close to your users to reduce latency and save on data transfer costs. Remember, each account can create up to 10,000 general-purpose buckets.
To enhance data protection, enable S3 Versioning. This feature safeguards against accidental deletions or overwrites during large file uploads. For encryption, Amazon S3 applies server-side encryption (SSE-S3) to all new objects by default, without additional charges. Set Object Ownership to "Bucket owner enforced" to disable legacy ACLs and simplify access management.
For faster uploads over long distances, enable S3 Transfer Acceleration. This feature uses Amazon CloudFront’s edge locations to speed up transfers, but note that it may incur extra costs. The endpoint for this feature is:
s3-accelerate.amazonaws.com
Once your bucket is configured for both performance and security, you’re ready to set up the tools needed for file uploads.
Installing the AWS CLI or SDK
To efficiently upload files, you’ll need the AWS CLI or an SDK suited to your programming language. The AWS Command Line Interface (AWS CLI) provides both high-level s3 commands for common tasks and low-level s3api commands for direct API access. Alternatively, you can use an SDK like Boto3 for Python or the AWS SDK for JavaScript for programmatic control.
Install your preferred tool using the appropriate package manager:
-
For Python:
pip install boto3 -
For JavaScript:
npm install @aws-sdk/client-s3 @aws-sdk/lib-storage
Next, configure your credentials, default region (e.g., us-east-1), and output format by running:
aws configure
This saves your settings in ~/.aws/credentials and ~/.aws/config.
For files larger than 5 TB, consider enabling the AWS Common Runtime (CRT) client. This feature streams data directly from disk, improving performance by avoiding memory buffering. You can activate it with the following command:
aws configure set default.s3.preferred_transfer_client crt
Using Multipart Upload for Large Files
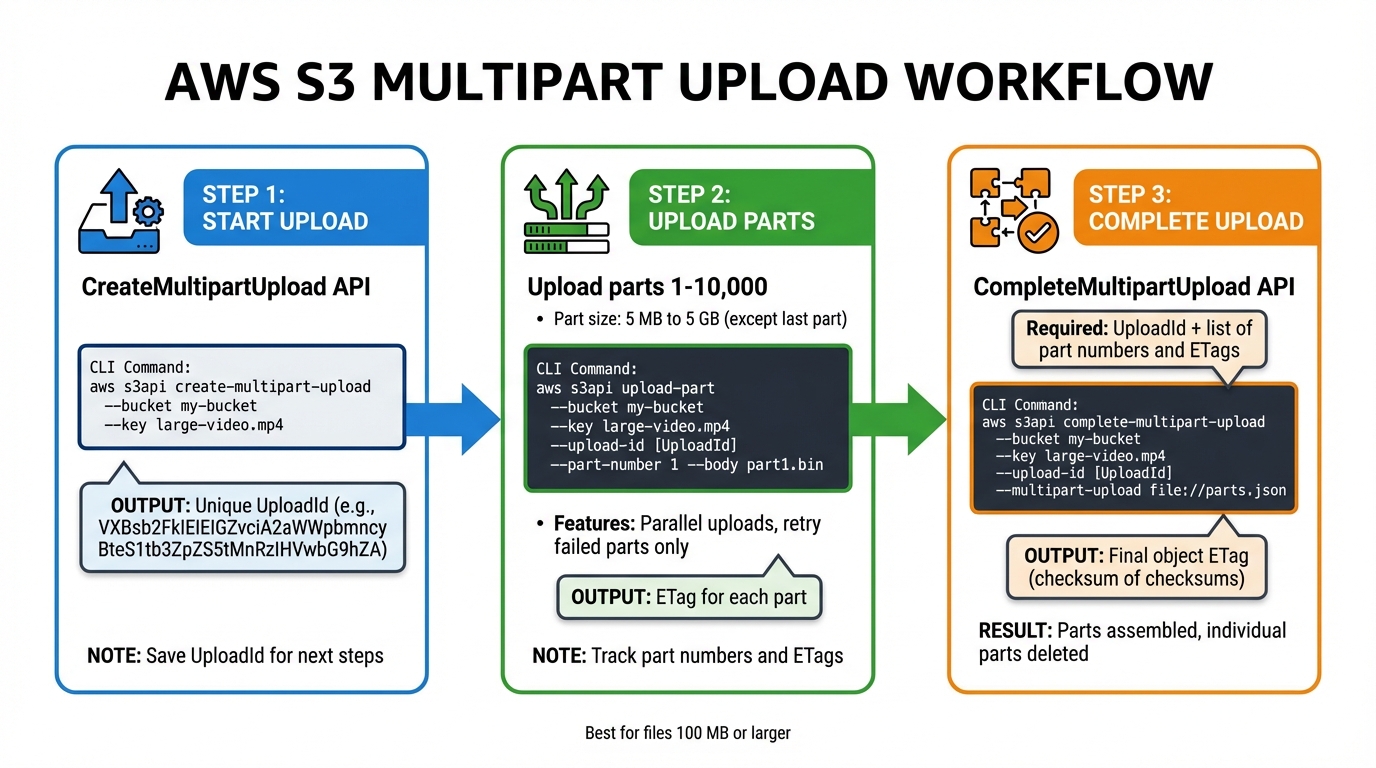
AWS S3 Multipart Upload Process: 3-Step Workflow
Once your environment is ready, multipart upload is an efficient way to manage large file transfers. This process breaks files into smaller pieces, uploads them separately, and then combines them into one file. It’s especially useful for files that are 100 MB or larger, improving performance and fault tolerance.
Starting a Multipart Upload
Before uploading file parts, you need to initiate the process using the CreateMultipartUpload API or the create-multipart-upload CLI command. This step informs Amazon S3 that a large file will be uploaded in sections and provides a unique UploadId to link all the parts.
For example, you can start a multipart upload with the AWS CLI:
aws s3api create-multipart-upload --bucket my-bucket --key large-video.mp4
The response will include an UploadId (e.g., VXBsb2FkIElEIGZvciA2aWWpbmcncyBteS1tb3ZpZS5tMnRzIHVwbG9hZA). Make sure to save this UploadId because you’ll need it for uploading each part. Metadata, such as the file’s content type or tags, must be specified during this step since it can’t be added later. If encryption settings aren’t specified, Amazon S3 uses server-side encryption with S3 managed keys by default. To avoid unnecessary storage costs for incomplete uploads, set a bucket lifecycle rule to automatically abort these uploads after a certain period.
Dividing and Uploading File Parts
With the UploadId in hand, you can start uploading individual parts. Each part requires the UploadId, a part number (from 1 to 10,000), and the file data. All parts, except the last one, must be at least 5 MB in size.
If you’re using low-level APIs or CLI commands, you might need to split the file manually - for instance, by using the split command in Linux. However, high-level CLI commands like aws s3 cp can handle splitting and part management for you.
Here’s an example of uploading a single part manually:
aws s3api upload-part --bucket my-bucket --key large-video.mp4 --upload-id VXBsb2FkIElEIGZvciA2aWWpbmcncyBteS1tb3ZpZS5tMnRzIHVwbG9hZA --part-number 1 --body part1.bin
Multipart uploads allow parts to be uploaded in parallel, which can significantly improve transfer speed. By default, the AWS CLI uses 10 concurrent requests for S3 transfers, but you can increase this number to make better use of your network bandwidth. After each part is uploaded, Amazon S3 provides an ETag header. Keep track of the ETag and part number for each piece. If an upload fails, only the failed part needs to be re-uploaded. You can check the progress using the list-parts command.
Finalizing the Upload
Once all parts are uploaded, finalize the process by calling the CompleteMultipartUpload API or the complete-multipart-upload CLI command. This step requires the UploadId, the object key, and a list of all uploaded parts with their numbers and ETags.
Amazon S3 assembles the file by arranging the parts in ascending order of their part numbers. For example, you can complete the upload with the following command:
aws s3api complete-multipart-upload --bucket my-bucket --key large-video.mp4 --upload-id VXBsb2FkIElEIGZvciA2aWWpbmcncyBteS1tb3ZpZS5tMnRzIHVwbG9hZA --multipart-upload file://parts.json
The parts.json file should look like this:
{
  "Parts": [
    {"PartNumber": 1, "ETag": "abc123"},
    {"PartNumber": 2, "ETag": "def456"},
    {"PartNumber": 3, "ETag": "ghi789"}
  ]
}
Your application must parse the XML response from S3, as it may include embedded errors. For very large files, the finalization process might take a few minutes. Once the upload is complete, Amazon S3 provides a CompleteMultipartUploadResult, which includes the final object’s ETag. This ETag is a "checksum of checksums" rather than a simple MD5 hash. After completion, the individual parts are deleted, and storage charges for them no longer apply.
Best Practices for File Upload Performance
Choosing the Right Part Size
Selecting the correct part size is key to improving upload speed and reliability. Amazon S3 requires each part to be between 5 MB and 5 GB (except for the last part) and supports up to 10,000 parts. For files exceeding 50 GB, you can calculate the optimal part size using this formula:
Part Size = Total File Size / 10,000
For instance, uploading a 2 TB file requires a minimum part size of 200 MB to comply with the part limit. By default, the AWS CLI uses 8 MB chunks, which is generally effective for most files. However, for files larger than 1 GB, increasing the chunk size to somewhere between 16 MB and 64 MB can reduce the number of parts and improve efficiency.
The choice of part size can also depend on your network conditions. Larger part sizes work well on stable, high-bandwidth connections since they reduce the overhead from multiple requests. On the other hand, smaller part sizes are better for unreliable networks, as they limit the amount of data that needs to be re-sent if a part fails. Beyond part size, performance often hinges on the number of concurrent requests. AWS CLI defaults to 10 concurrent requests, but increasing this number can help maximize your available bandwidth. Fine-tuning these settings is crucial for making the most of multipart uploads.
Handling Errors and Implementing Retries
Once you've determined the best part size, robust error handling becomes essential to maintain efficiency. Multipart uploads simplify this process by allowing you to re-upload only the failed parts, saving time compared to restarting the entire upload. AWS SDKs and high-level CLI commands, like aws s3 cp, include built-in retry logic for transient errors and HTTP 503 responses. These tools also use exponential backoff, which increases the time between retries to prevent overwhelming the system.
To ensure data integrity, specify checksum algorithms such as SHA-1, SHA-256, CRC32, or CRC32C. Amazon S3 automatically checks the checksum when it receives a part and will reject the upload if there's a mismatch. After completing a multipart upload, you can verify the object's checksum metadata using the head-object command with the --checksum-mode enabled option.
Enabling S3 Transfer Acceleration
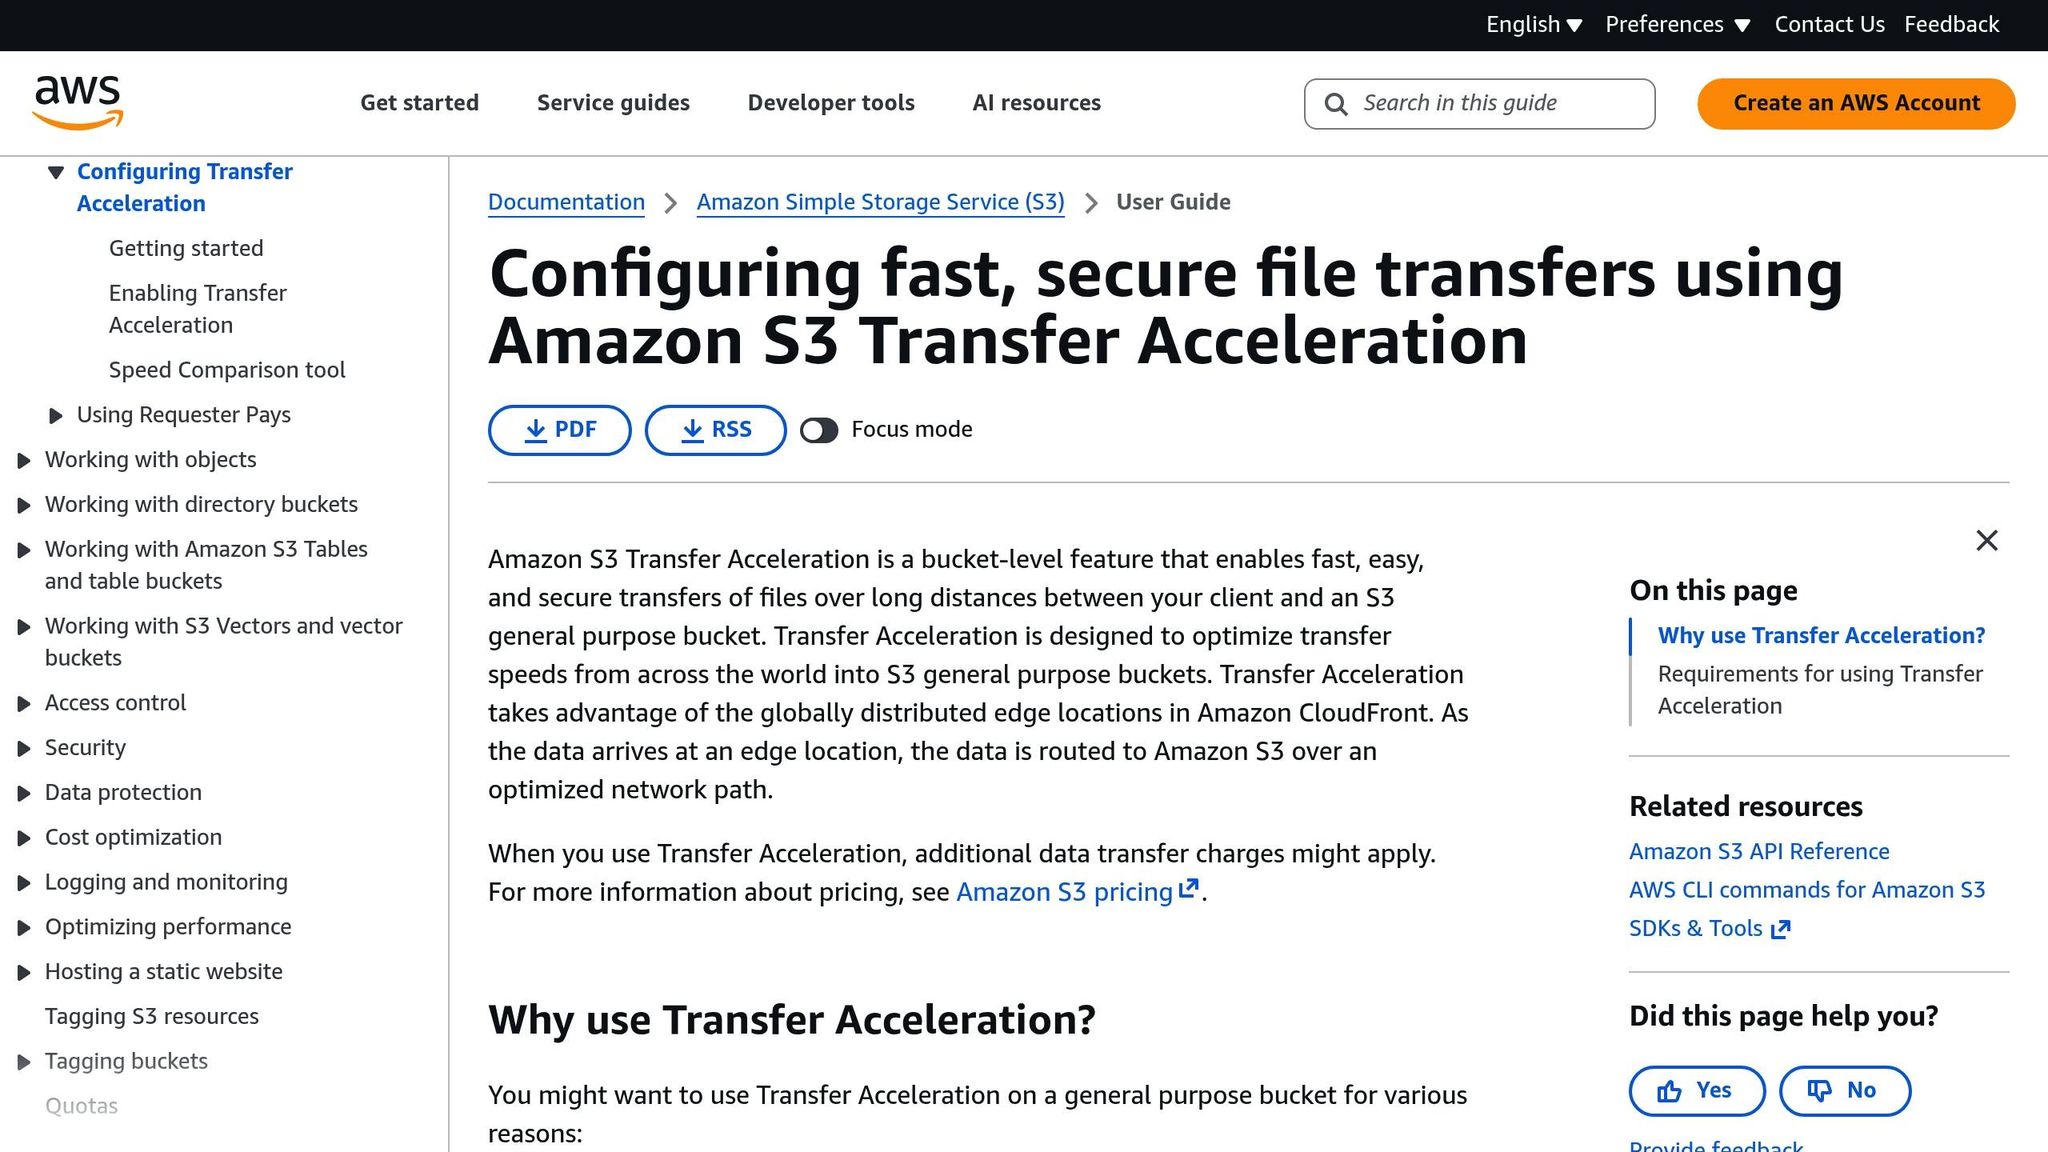
For even better performance, S3 Transfer Acceleration optimizes data routes to speed up uploads. It works by routing traffic through CloudFront Edge Locations and the AWS backbone network, bypassing the unpredictability of the public internet.
"S3 Transfer Acceleration (S3TA) reduces the variability in Internet routing, congestion and speeds that can affect transfers, and logically shortens the distance to S3 for remote applications." – AWS Documentation
When paired with multipart uploads, enabling S3 Transfer Acceleration can significantly boost upload performance. To activate it, update your S3 endpoint to bucketname.s3-accelerate.amazonaws.com. You can also use the Transfer Acceleration Speed Comparison tool to evaluate its benefits. Importantly, you'll only be charged for transfers that actually use acceleration.
Using Simple File Upload for Easier Integration
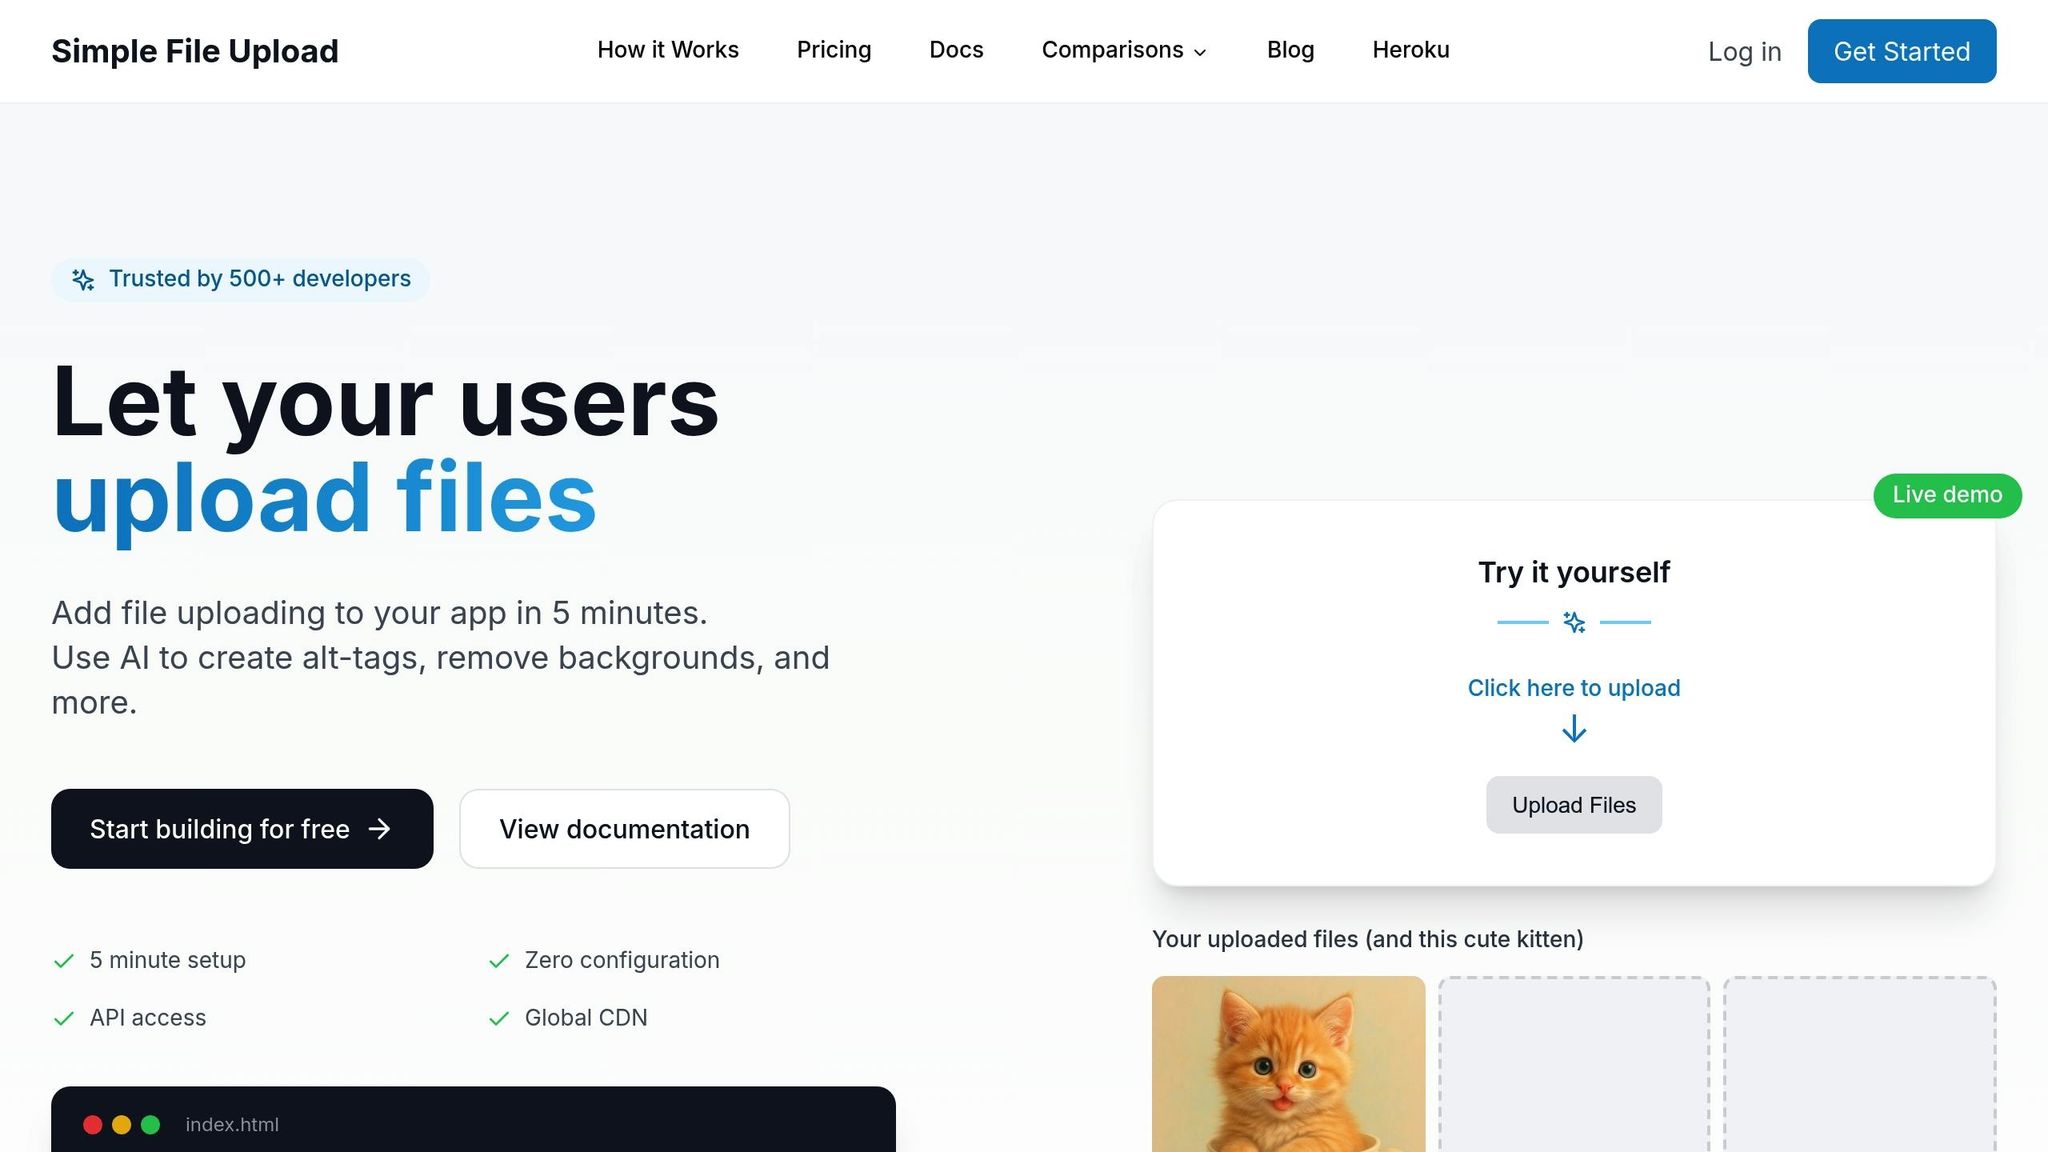
If you're building scalable applications and want to simplify file handling without losing performance, Simple File Upload could be the solution. While integrating directly with the AWS SDK gives you control, it also comes with the hassle of managing authentication, presigned URLs, error handling, and retries. For many development teams, these tasks can slow down progress. Simple File Upload takes care of these complexities, letting you focus on what matters most: your application's core features. Compared to traditional multipart uploads, it offers a smoother, more efficient alternative.
Key Features and Capabilities
Simple File Upload makes working with S3 easier by managing uploads, providing secure storage, and delivering files through a global CDN. With direct-to-S3 uploads using presigned URLs, files go straight from users' devices to cloud storage, bypassing your servers. This means your application’s bandwidth and CPU resources stay free for other tasks, which is especially useful when handling large files during high-traffic periods.
The service goes beyond just storing files. It includes AI-generated alt-text for images, which helps make your application more accessible by automatically creating image descriptions. Additionally, its image transformation tools allow you to resize, crop, and optimize images instantly - no need for separate processing pipelines. Files are delivered quickly via the global CDN, and the Pro plan supports uploads of up to 50 MB, making it a great fit for high-resolution images, documents, and media files.
Integrating Simple File Upload into Your Application
Getting started with Simple File Upload is much easier than setting up raw S3 multipart uploads. The platform provides prebuilt uploader components that work seamlessly with frameworks like React, Vue, Angular, and even vanilla JavaScript. Once you sign up, you'll receive an API key to authenticate your frontend requests. These prebuilt uploaders handle file selection, progress tracking, and error messaging for you, so you can minimize custom coding.
On the backend, the service securely generates presigned URLs and manages credentials, ensuring that your AWS keys stay protected. Uploaded files are stored securely, and lifecycle policies automatically clean up incomplete uploads. Pricing starts at $35/month for the Basic plan, which includes 25 GB of storage. Higher-tier plans offer expanded storage and allow for larger uploads, up to 50 MB per file.
Conclusion
Multipart uploads start with CreateMultipartUpload, involve splitting the file into parts ranging from 5 MB to 5 GB, and finish with CompleteMultipartUpload, which assembles the parts back into a single file. This method allows you to upload parts simultaneously, making better use of bandwidth and increasing reliability.
Testing has shown that multipart uploads can cut upload times by more than 60%. Tam Baghdassarian, Cloud Application Architect at AWS, highlights the benefits:
Using S3 features such as presigned URLs and multipart upload, developers can securely increase throughput and minimize upload retries due to network errors
Managing multipart uploads manually can be time-consuming and complex, often pulling focus away from core development tasks. For this reason, many developers opt for integrated solutions to streamline the process.
Simple File Upload offers an automated alternative, handling the entire multipart upload lifecycle. Instead of building custom code, developers can use prebuilt uploader components compatible with React, Vue, Angular, or vanilla JavaScript. Files are uploaded directly to S3 with presigned URLs, ensuring AWS credentials stay secure on the backend. Additionally, incomplete uploads are automatically cleaned up. This approach keeps large file uploads efficient and scalable, supporting the growth of your application.
FAQs
What are the advantages of using multipart upload for large files on Amazon S3?
Using multipart upload for large files on Amazon S3 comes with several advantages:
- Improved upload speed: Files are divided into smaller parts and uploaded simultaneously, cutting down the time it takes to complete the process.
- Failure handling: If a part of the upload fails, you only need to retry that specific part instead of starting over with the entire file.
- Handles large files with ease: Perfect for uploading files over 100 MB, making it a reliable choice for managing extensive datasets.
This method ensures dependable performance, even when dealing with large files or less stable network conditions.
How can I manage errors and retries when uploading large files to Amazon S3?
When you're uploading large files to Amazon S3 using multipart upload, the process breaks the file into smaller chunks, or parts, that are uploaded independently. The major advantage? If an error occurs, you only need to re-upload the failed parts instead of starting the entire upload from scratch. This not only saves time but also boosts reliability - especially when working with massive files.
To keep your uploads running smoothly, make sure to implement retry logic for any parts that fail. This becomes particularly critical if you're working with an unstable network. Another benefit of multipart upload is that it supports parallel uploads, meaning multiple parts can be uploaded simultaneously. This can significantly cut down on transfer time and reduce the impact of any network interruptions.
By adopting these strategies, you can handle errors more effectively and ensure your uploads succeed, even in less-than-ideal conditions.
What are the best ways to simplify uploading large files to Amazon S3?
Uploading large files to Amazon S3 doesn't have to be a hassle. By using a few smart techniques, you can make the process faster and more reliable.
One handy option is multipart uploads, which split your file into smaller chunks that can be uploaded independently. This not only speeds things up but also makes the upload more dependable - if one part fails, you only need to retry that segment instead of starting over.
Another great tool is presigned URLs. These temporary, secure links let users upload files directly to S3 without routing through your server. That means less server strain and a smoother experience for everyone. Plus, AWS SDKs for popular programming languages make it simple to add these features to your app, giving you a scalable and streamlined solution.
Related Blog Posts
Ready to simplify uploads?
Join thousands of developers who trust Simple File Upload for seamless integration.